Design and review note: These original written instructions have been reviewed for stitch arithmetic and construction logic, but have not been physically crocheted or sample-tested. Measurements are planning estimates, not verified finished sizes. Existing images are illustrative, not a photographic record of this exact design. Make a sample and check the relevant fit, shape and attachments before use.
Original written design — unworked draft. These directions were written independently. Stitch arithmetic can be checked on paper, but no physical sample has been made. Dimensions and yarn needs are planning estimates, not verified results. Make and measure a sample before promising fit, appearance or durability. Existing illustrative pictures may not show this exact construction.
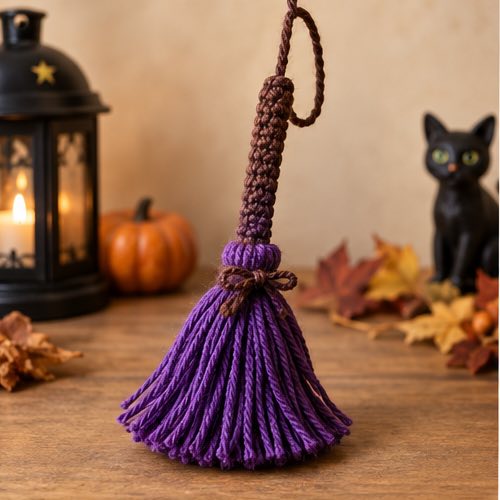
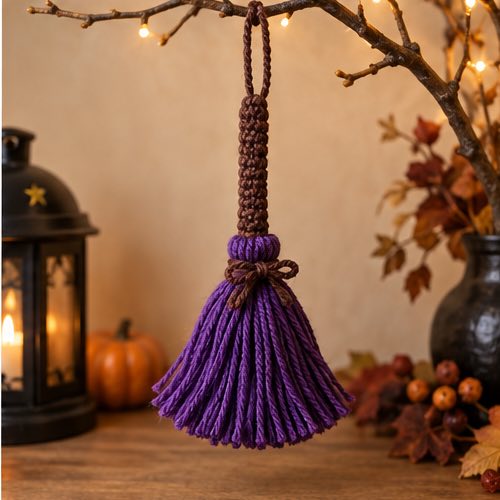
Make a miniature Halloween broom with a crocheted sleeve over a smooth dowel and a tied yarn fringe. This is a decorative craft, not a cleaning broom, toy or load-bearing hanger.
Materials and measurements
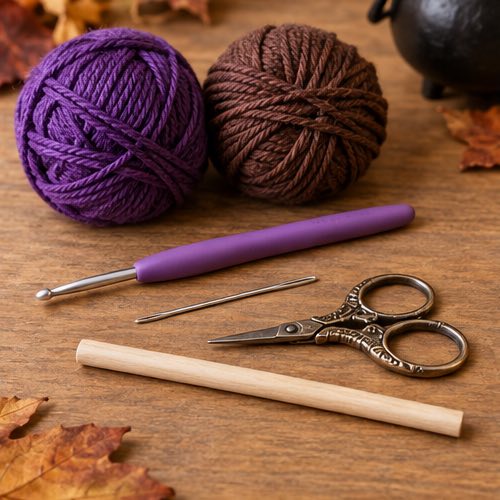
Use worsted brown and straw-colored yarn, optional purple yarn for the tie, a 4 mm starting hook, a smooth blunt-ended dowel about 12 cm long, ruler, tapestry needle, scissors and a 6 cm-high piece of firm cardboard. Do not use splintered or sharp twigs. Plan approximately 4 cm of fringe projecting below the handle, but measure the actual assembly. All yarn quantities and finished measurements remain unworked estimates.
US terms and counting rules
ch = chain; sc = single crochet; sl st = slip stitch; st/sts = stitch/stitches; inc = 2 sc in one stitch; dec = sc two stitches together. For a dec, insert through the next stitch, pull up a loop, repeat in the following stitch, yarn over and draw through all three loops. It consumes two stitches and makes one. Work both loops unless stated. For flat rows, ch 1 and turn before the next row; that chain never counts. Work the first sc into the first real stitch. In continuous rounds, do not join or turn; mark the first stitch and move the marker each round. Repeat counts exclude finishing slip stitches.
Crochet the handle sleeve
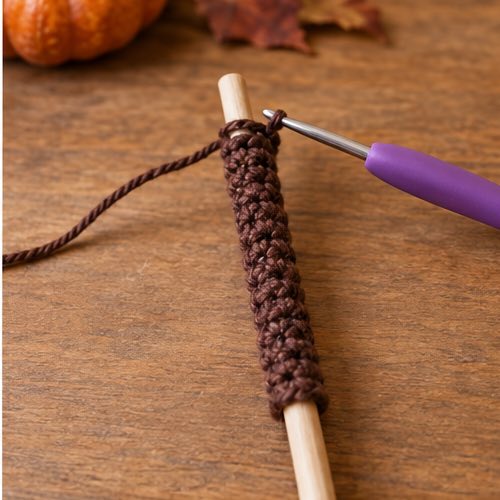
Target flat gauge for planning: 20 sc and 24 rows per 10 cm. Ch 5. Row 1: sc from second chain across (4 sc). Rows 2–24: ch 1, turn, sc across (4 sc each row). This initial strip calculates to 2 × 10 cm. Wrap its 2 cm width around the actual dowel and check the two long edges can meet without stretching. If the circumference does not fit, remake with more or fewer starting chains; the stitch count is one fewer than the foundation chain. Keep 24 rows only if the measured strip length fits the intended covered section of the dowel.
Fasten off with a sewing tail. Fold around the dowel and sew the two long edges through 24 paired row-end positions, making a tube. Keep the seam at the back. Pass the yarn through all four top-edge stitch positions and draw the opening closed over the blunt tip. The dowel must not protrude through the fabric. The bottom 2 cm of the dowel remains available for the bristles.
Prepare and tie the bristles
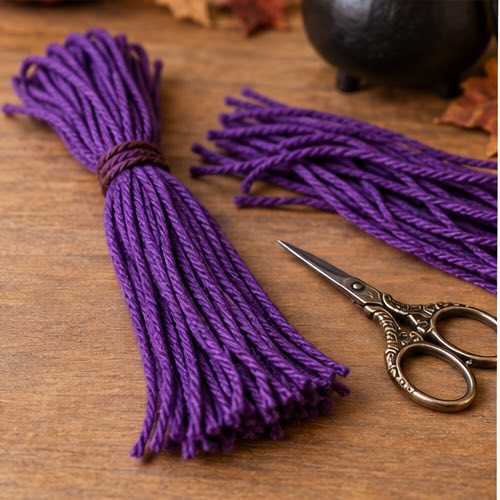
Wrap straw yarn around the 6 cm-high card 30 complete times without stretching. A complete wrap travels down one face and up the other. Before cutting, pass a 30 cm tie strand through all loops at the top and knot tightly. Cut all loops along the bottom card edge; the bundle now has 60 free ends about 6 cm below the tied top. Remove the card.
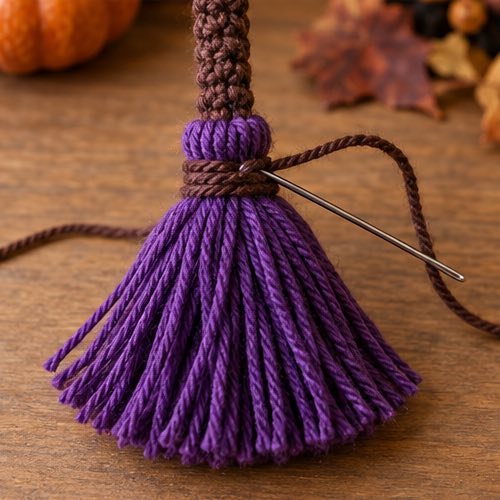
Spread the bundle around the exposed bottom 2 cm of the dowel so its tied top sits at the lower end of the crocheted sleeve and all 60 ends point downward. Use a separate 40 cm strand to wrap around the bristle bundle and dowel six times, about 1 cm below the tied top. Knot at the back, then pass the ends through the binding and through the lower sleeve fabric with a needle. Sew the top bristle tie to several sleeve stitches. The bindings must hold the bundle without glue. Trim only after secure attachment, aiming for about 4 cm of fringe beyond the dowel tip.
Hanging loop and final check
Ch 20 in brown; fasten off with long tails. Chain gauge is not sc gauge, so fold the actual cord in half and check the desired loop length. Sew each end separately through several sleeve stitches at the top, not only one strand. Check the dowel cannot slide out and the bristles cannot be pulled free under gentle handling. Keep away from flame, children and pets; the handle can still pose a hazard even with a soft cover.
Troubleshooting
A loose sleeve means its width needs changing, not merely tighter seaming. Uneven bristles should be trimmed after binding, not while loose on the card. If the bristle bundle slips, remove it and remake the mechanical tie and stitches; do not treat the hanging loop as reinforcement for the bottom.
Questions about this project
How many fringe ends are there?
Thirty complete wraps become sixty free ends when their bottom loops are cut. The separate top and neck ties are not counted as bristles.
Can I omit the dowel?
Not without changing the structure: the sleeve is not designed to be rigid by itself. A stuffed soft-handle version needs a separate pattern.
Can I wash the ornament?
The wooden core complicates washing. Keep it dry and dust gently; check the fiber label and do not soak wood.
Before calling the pattern tested
Record the yarn brand, actual quantity, washed gauge and finished dimensions from a real sample. Check every seam and photograph these exact steps. Mathematical review is not a practical crochet test or product safety certification.
More Crochet Projects & Guides
When you are ready for another project, explore this crochet maple leaf pattern and keep building your seasonal crochet collection one clear project at a time.