Design and review note: These original written instructions have been reviewed for stitch arithmetic and construction logic, but have not been physically crocheted or sample-tested. Measurements are planning estimates, not verified finished sizes. Existing images are illustrative, not a photographic record of this exact design. Make a sample and check the relevant fit, shape and attachments before use.
Original written design — unworked draft. These directions were written independently. Stitch arithmetic can be checked on paper, but no physical sample has been made. Dimensions and yarn needs are planning estimates, not verified results. Make and measure a sample before promising fit, appearance or durability. Existing illustrative pictures may not show this exact construction.
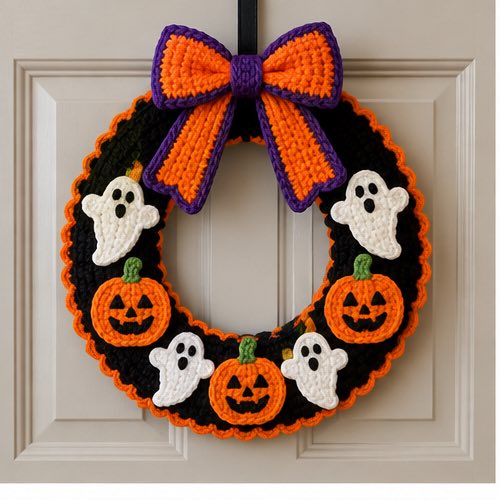
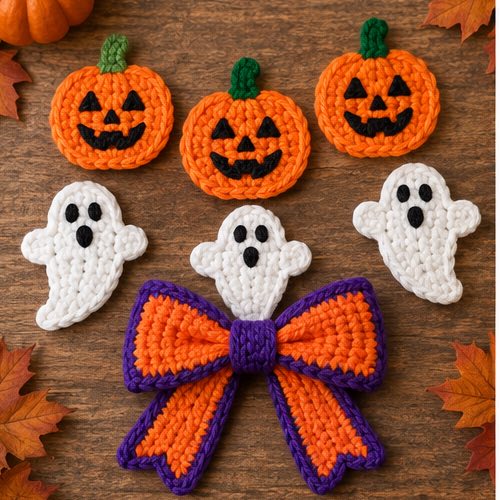
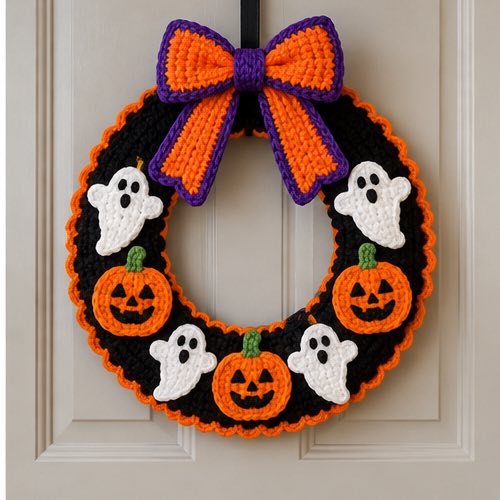
This Halloween door hanger covers a 25 cm hoop with a fitted crocheted strip and adds three embroidered circular motifs. It does not assume that another designer's wreath motifs fit the hoop. The circles represent a pumpkin, a ghost face and a purple monster face.
Materials and planning
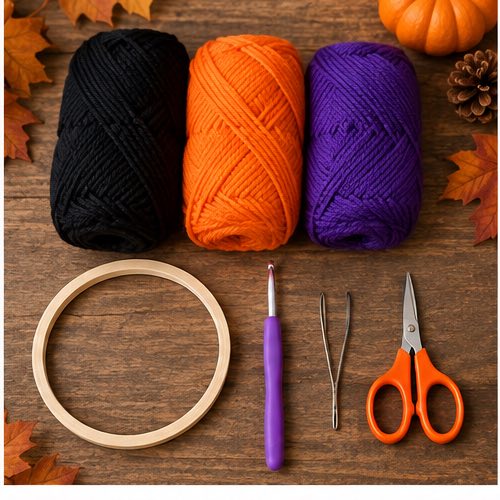
Use a smooth lightweight hoop approximately 25 cm in diameter, worsted black yarn for the cover, orange, white and purple yarn for motifs, tiny amounts of green and black embroidery yarn, a 4 mm starting hook, needle, ruler and markers. The hoop must have no sharp edges. Yarn quantity has not been measured. Target flat gauge: 20 sc and 24 rows per 10 cm. Measure the actual hoop's outer perimeter and the circumference around its tube, not only its advertised diameter.
US terms and counting rules
ch = chain; sc = single crochet; sl st = slip stitch; st/sts = stitch/stitches; inc = 2 sc in one stitch; dec = sc two stitches together. For a dec, insert through the next stitch, pull up a loop, repeat in the following stitch, yarn over and draw through all three loops. It consumes two stitches and makes one. Work both loops unless stated. For flat rows, ch 1 and turn before the next row; that chain never counts. Work the first sc into the first real stitch. In continuous rounds, do not join or turn; mark the first stitch and move the marker each round. Repeat counts exclude finishing slip stitches.
Hoop cover strip
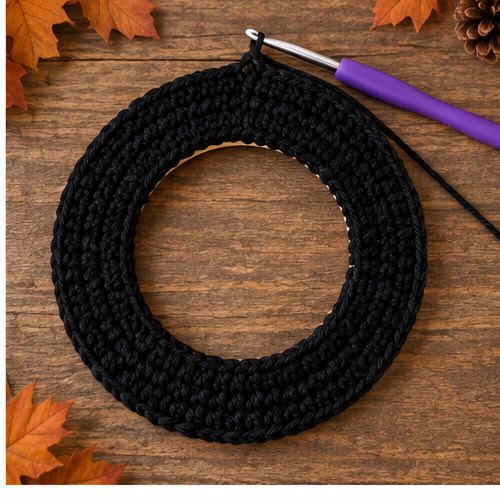
Initial width: ch 9. Row 1: sc from second chain across (8 sc). Rows 2–190: ch 1, turn, 8 sc. The nominal strip is 4 cm wide and 79.2 cm long. A 25 cm circle's perimeter is approximately 78.5 cm, but tube thickness and seam allowance change the required fit. Before fastening off, lay the strip around the actual hoop with its length following the hoop perimeter and its width wrapping around the tube. The long edges must meet. Add or remove complete eight-stitch rows to fit its length; remake with a different foundation count if its width does not fit.
Bring the two eight-stitch short edges together around the hoop without twisting. Sew eight matched stitch positions to make a ring. Wrap the strip across the hoop tube and sew its two long edges at the back, pairing one row-end to one row-end all the way around: 190 pairs for the initial strip, or the actual row count if adjusted. Keep tension even. Record the final row count; no universal 190-row fit is promised.
Three circular faces
Make one orange, one white and one purple circle in continuous rounds.
| Row or round | Direction | End count |
|---|---|---|
| 1 | 6 sc in adjustable ring. | 6 |
| 2 | Inc six times. | 12 |
| 3 | (Sc, inc) six times. | 18 |
| 4 | (2 sc, inc) six times. | 24 |
| 5 | (3 sc, inc) six times. | 30 |
Sl st into the next stitch as an uncounted finish and leave a sewing tail. Embroider an orange pumpkin face with two small eyes and a mouth, a white ghost face with two eyes and an oval mouth, and a purple monster with two eyes and one short zigzag smile. Keep all stitches flat and secure. For the pumpkin stem, join green to one rim stitch, ch 3, sl st in second chain from hook and next chain (2 sl sts), sl st back into the same rim stitch; secure tails.
Position and secure
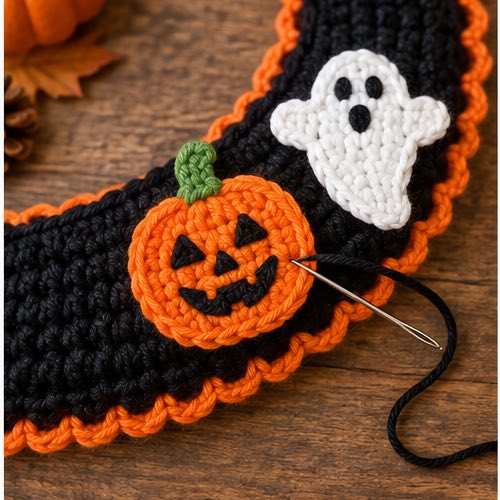
Lay the covered hoop flat. Pin orange at 5 o'clock, white at 7 o'clock and purple at 6 o'clock, overlapping the bottom arc slightly. Faces must look forward and the centers must remain visible. Sew the overlapping outer arc of every motif to the cover through multiple perimeter stitches; do not hang a motif from one stitch alone. Sew any motif overlaps to each other without distorting the circles. Attach a ch-30 hanging loop at 12 o'clock: fasten off, fold the cord and sew both ends separately around the hoop and through multiple cover stitches. The core hoop, not only the fabric, should support the hanging cord.
Troubleshooting and safety
If the cover bunches, adjust length before closing; if the back seam cannot meet, increase strip width rather than stretching. Test on the intended door hook and check the door closes without trapping the ornament. Use indoors or in a dry sheltered spot. No load rating is established. Keep cords and hoop out of children's and pets' reach and away from heat.
Questions about this project
Can I use a foam wreath instead?
A foam form has a different tube circumference and perimeter; measure it and recalculate both dimensions before crocheting. The initial strip is not guaranteed to fit.
Are the three motifs stuffed?
No. Each is one flat circle with embroidery; there is no backing panel or stuffing in this design.
How do I prevent a tilted hanger?
Anchor the hanging loop opposite the decorated bottom arc, then check the actual balance before securing the final knots.
Before calling the pattern tested
Record the yarn brand, actual quantity, washed gauge and finished dimensions from a real sample. Check every seam and photograph these exact steps. Mathematical review is not a practical crochet test or product safety certification.
More Crochet Projects & Guides
When you are ready for another project, explore this crochet maple leaf pattern and keep building your seasonal crochet collection one clear project at a time.