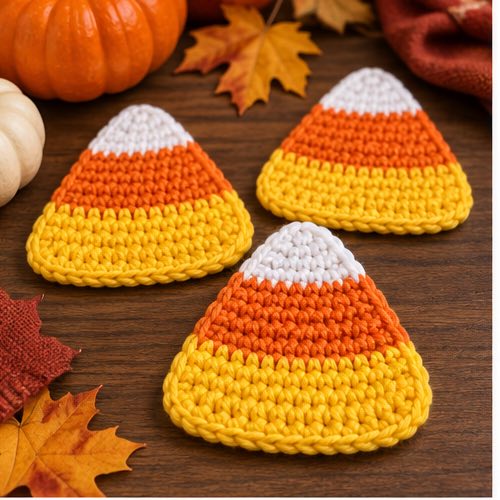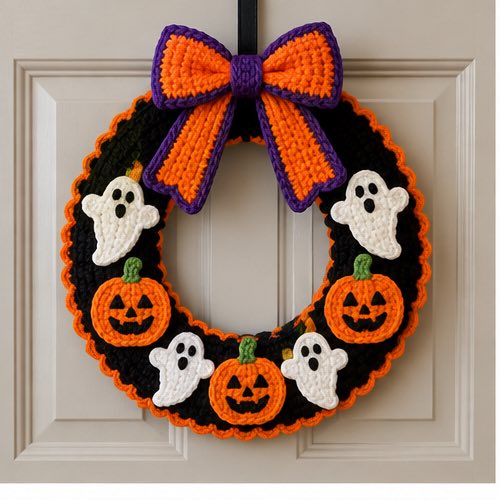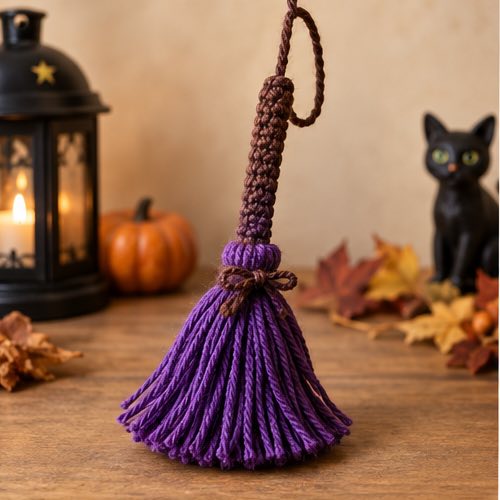
Design and review note: These original written instructions have been reviewed for stitch arithmetic and construction logic, but have not been physically crocheted or sample-tested. Measurements are planning estimates, not verified finished sizes. Existing images are illustrative, not a photographic record of this exact design. Make a sample and check the relevant fit, shape and attachments before use.
Original written design — unworked draft. These directions were written independently. Stitch arithmetic can be checked on paper, but no physical sample has been made. Dimensions and yarn needs are planning estimates, not verified results. Make and measure a sample before promising fit, appearance or durability. Existing illustrative pictures may not show this exact construction.
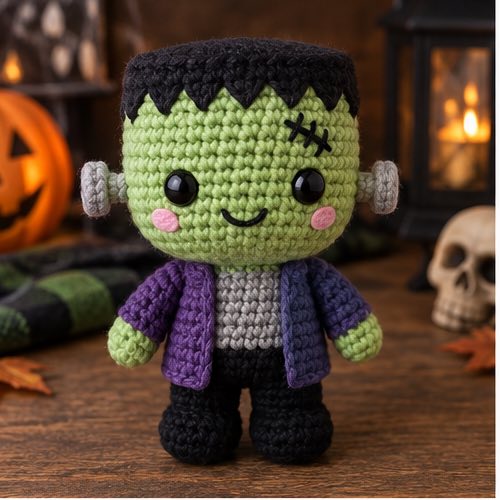
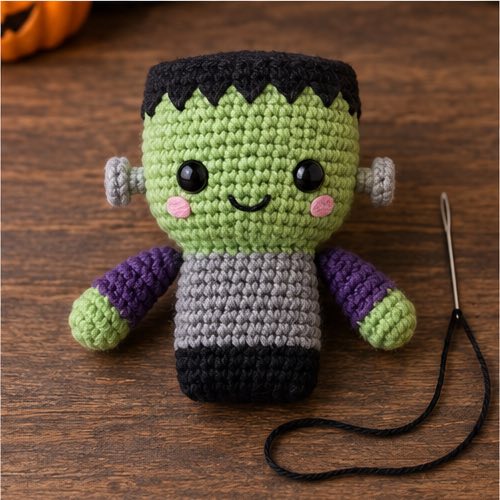
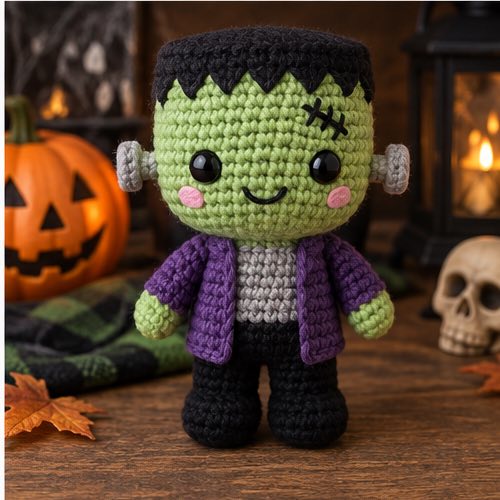
This is a small stuffed Frankenstein-inspired decorative character: a green round head, purple cylindrical body, two legs and two simple arms and an embroidered face. It is not a square-bodied or articulated doll. No limbs, bolts or face details are glued on.
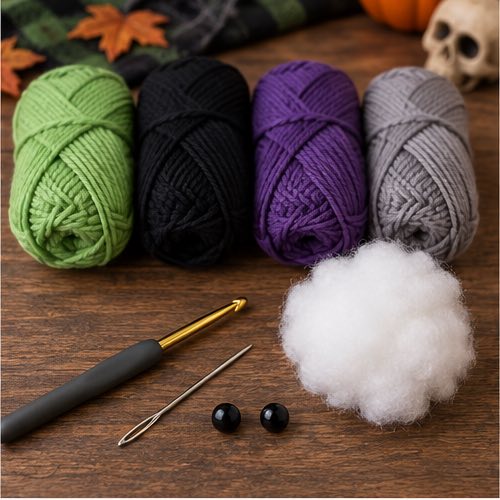
Materials and gauge planning
Use smooth worsted green, black and purple yarn, gray yarn for embroidered bolts, polyester stuffing, a 3.5 mm starting hook, needle and marker. Work a swatch to find a tight but flexible fabric that hides stuffing. A nominal 22 sc and 26 rows per 10 cm is a planning reference only; amigurumi rounds and stuffing change the dimensions. The head's widest circumference has 30 stitches and the body has 24. No finished height or yarn quantity has been sample-verified.
US terms and counting rules
ch = chain; sc = single crochet; sl st = slip stitch; st/sts = stitch/stitches; inc = 2 sc in one stitch; dec = sc two stitches together. For a dec, insert through the next stitch, pull up a loop, repeat in the following stitch, yarn over and draw through all three loops. It consumes two stitches and makes one. Work both loops unless stated. For flat rows, ch 1 and turn before the next row; that chain never counts. Work the first sc into the first real stitch. In continuous rounds, do not join or turn; mark the first stitch and move the marker each round. Repeat counts exclude finishing slip stitches.
Head, top down
Start with black. Rounds are continuous.
| Row or round | Direction | End count |
|---|---|---|
| 1 | 6 sc in adjustable ring; close ring. | 6 |
| 2 | Inc six times. | 12 |
| 3 | (Sc, inc) six times. | 18 |
| 4 | (2 sc, inc) six times. | 24 |
| 5 | (3 sc, inc) six times. | 30 |
| 6–10, green | Change on final pull-through of round 5. Sc in each stitch for five rounds. | 30 each |
| 11 | (3 sc, dec) six times: consumes 30, makes 24. | 24 |
| 12 | (2 sc, dec) six times. | 18 |
| 13 | (Sc, dec) six times. | 12 |
Fasten off with a long sewing tail; leave the 12-stitch neck opening open. Stuff through it without forcing stuffing through the fabric. Embroider eyes with short black stitches on the front of rounds 8–9, about six stitches apart. Add a short mouth and two small gray bolt marks on opposite sides, avoiding loose loops. Do not use plastic safety eyes.
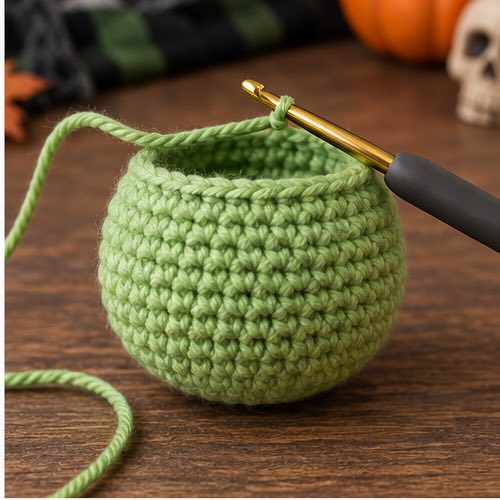
Body, bottom up
Use purple.
| Row or round | Direction | End count |
|---|---|---|
| 1 | 6 sc in adjustable ring. | 6 |
| 2 | Inc six times. | 12 |
| 3 | (Sc, inc) six times. | 18 |
| 4 | (2 sc, inc) six times. | 24 |
| 5 | Sc around through back loops only, creating a turning ridge. | 24 |
| 6–10 | Sc around for five rounds. | 24 each |
| 11 | (Sc, dec) eight times: consumes 24, makes 16. | 16 |
| 12 | (2 sc, dec) four times: consumes 16, makes 12. | 12 |
Stuff body moderately. Leave its 12-stitch top open. Pin head and body together and sew all 12 matching opening stitches, one-to-one; add small stitches through sound fabric around the neck to secure it. Add stuffing before the last few stitches only if needed. This is a shelf decoration; the round base does not guarantee that it stands unsupported.
Arms: make two
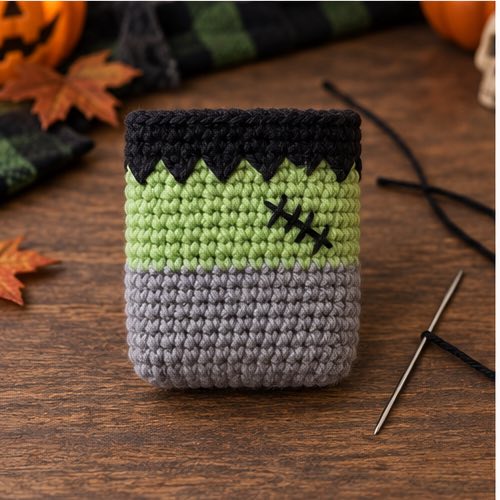
In green, round 1: 6 sc in adjustable ring (6). Rounds 2–5: sc around (6 each round). Do not stuff. Flatten each opening and sew three matched stitch pairs closed. Sew each closed end vertically to opposite sides of the body across rounds 8–10, keeping the arms level. Sew through the body fabric, not loose stuffing. Weave tails inside securely.
Legs: make two
In black, round 1: 6 sc in adjustable ring (6). Rounds 2–3: 6 sc each. Change to purple for rounds 4–6: 6 sc each. Stuff lightly. Flatten each six-stitch opening and sew three matched pairs closed. With the face forward, pin both closed ends side by side on the lower front edge of the body base, separated by two body stitches. Sew each end through multiple structural stitches and compare their positions before securing. The legs are separate attached cylinders, not a standing-foot mechanism. Support the finished character for display.
Troubleshooting and safety
The head opening and body opening both have exactly 12 stitches. If they do not match, fix the decrease round rather than skipping joining stitches. A wobbly neck needs even sewing through firm fabric, not a rigid insert. Use no wire, weights or detachable beads. Decorative use only; embroidered eyes do not make the entire object a certified child-safe toy. Check every attachment and keep it away from babies and pets.
Questions about this project
Can I add a square jacket?
This pattern has a round purple torso. A separate square jacket is not included and would require a new fit-tested pattern.
Why is the top of the head black?
The first five rounds create a simple black hair cap; the rest of the head is green. More elaborate hair is not needed to finish this version.
Will it stand on its own?
That has not been established. Display it supported on a shelf rather than promising freestanding balance.
Before calling the pattern tested
Record the yarn brand, actual quantity, washed gauge and finished dimensions from a real sample. Check every seam and photograph these exact steps. Mathematical review is not a practical crochet test or product safety certification.
More Crochet Projects & Guides
When you are ready for another project, explore this crochet maple leaf pattern and keep building your seasonal crochet collection one clear project at a time.