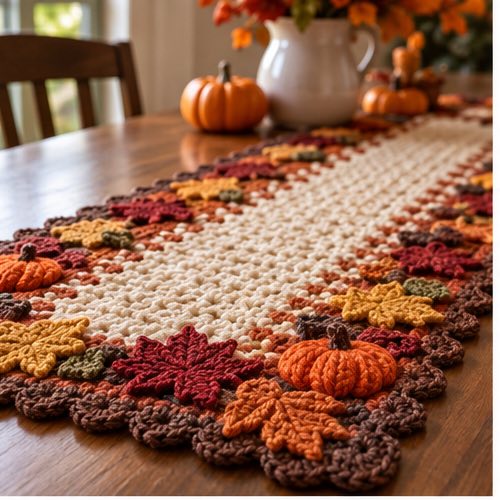
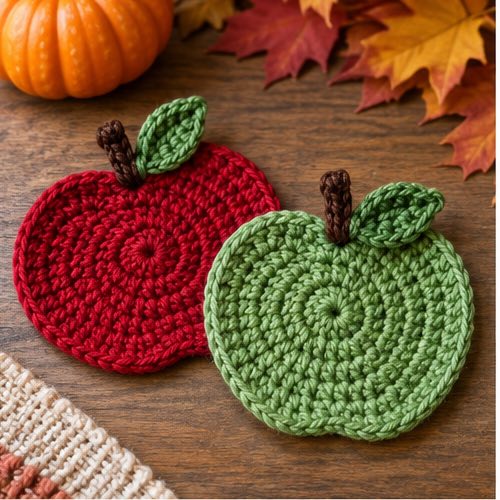
This crochet maple leaf gives autumn projects a crisp, recognizable shape. Use it as an applique, a garland piece, or a handmade gift embellishment.
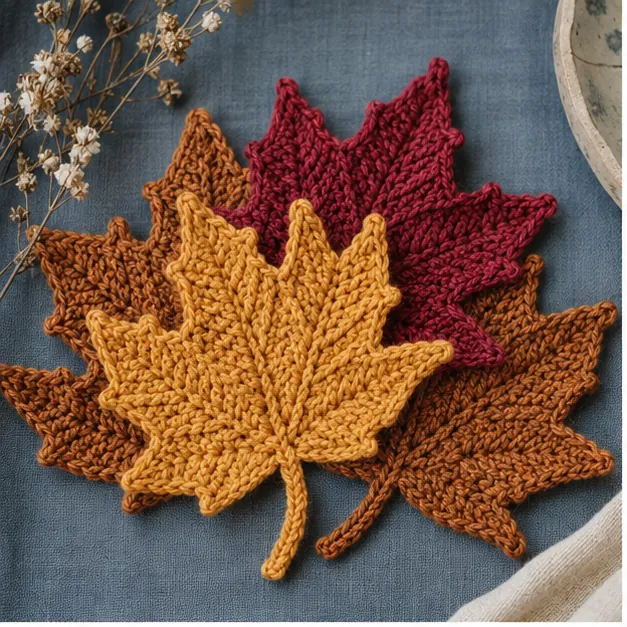
The points are formed with varied stitch heights, then a small stem completes the leaf. Blocking helps the shape stay sharp.
You can also explore Fall Crochet.
Project at a Glance
| Skill level | Beginner-friendly |
|---|---|
| Crochet terms | US terms |
| Construction | step-by-step crochet construction |
| Yarn and hook | Use the weight and hook stated in the pattern directions |
| Main stitch | See the project instructions below |
| Gauge and finished size | Use the stated measurement checks before finishing |
| Finishing | Secure ends, reinforce seams, and add optional lining or reinforcement where useful |
Materials and Gauge
For a useful materials reference, visit Fall Crochet Patterns: Cozy Projects and Autumn Decorations.
Gather all yarn, hook, needle, scissors, and optional finishing supplies before you begin. Make a small gauge sample when the project needs a precise fit or a firm fabric. Measure after the sample has relaxed, then adjust hook size before committing to the full project.
Abbreviations and Notes
Ch = chain; sl st = slip stitch; sc = single crochet; hdc = half double crochet; dc = double crochet; inc = two stitches in one stitch; dec or sc2tog = decrease; st/sts = stitch/stitches. Unless a direction says otherwise, the turning chain does not count as a stitch. Keep a marker in the first stitch of each spiral round and write down completed rows.
Crochet the Main Project
Before continuing, you may also like Crochet Pumpkin Pattern: Easy Fall Decoration.
This crochet maple leaf pattern makes a flat five-point applique that brings an easy autumn detail to pillows, garlands, table runners, and handmade gift wrap. It is worked in one piece from a small center ring, then shaped with five repeated points. The points use increasing stitch heights, so you will practice single crochet, half double crochet, double crochet, and treble crochet in a small, forgiving project. Make several leaves in rust, gold, red, and brown for a display that looks gathered from an autumn walk.
Finished size and supplies
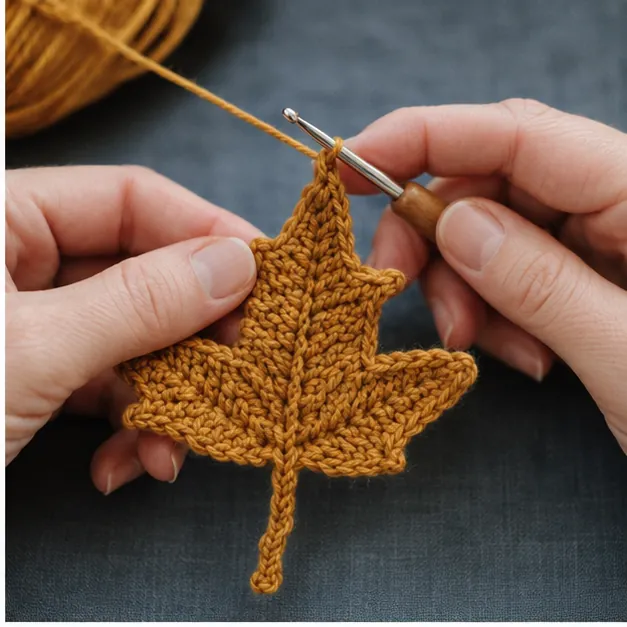
With DK-weight yarn and a 4 mm hook, the leaf measures about 4 inches wide after blocking. Gauge is not critical, but your leaf will be larger with thicker yarn or a larger hook. You need DK yarn in a fall shade, a 4 mm hook, yarn needle, scissors, and blocking pins. Smooth cotton or wool-blend yarn gives the best definition. Avoid fuzzy yarn for your first leaf because the points and chain spaces are easier to shape when you can see every stitch.
How to read the pattern
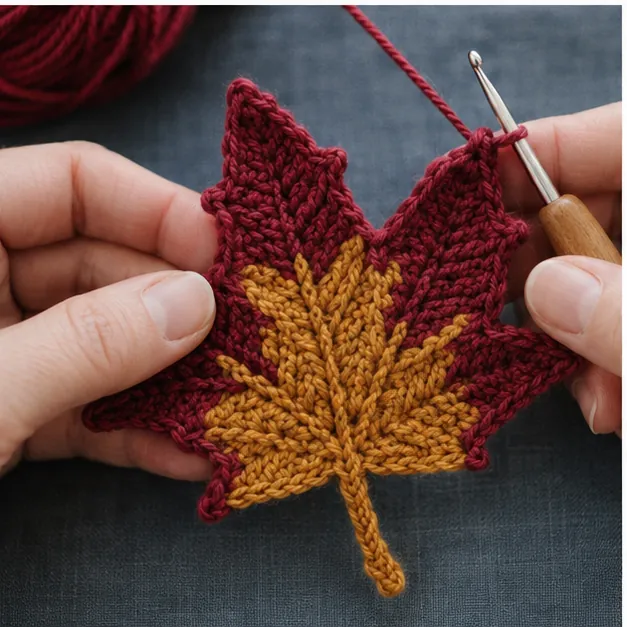
This leaf is worked around a small center ring. The opening chain does not count as a stitch unless the instructions say so. Each leaf point uses one repeated stitch sequence, and you repeat it five times around the ring. A chain-3 picot is the small pointed tip: chain 3, then slip stitch into the first of those three chains. Work all stitches in the sequence into the ring before starting the next point.
Count the five finished points instead of trying to count every decorative stitch. Before you fasten off, spread the leaf flat. Each point should be similar in height and the valleys between them should be open enough to show the leaf shape. If one point looks short, check that you did not skip the treble crochet or make the picot too tightly.
Crochet abbreviations
- ch = chain
- sl st = slip stitch
- sc = single crochet
- hdc = half double crochet
- dc = double crochet
- tr = treble crochet
- FO = fasten off
For a treble crochet, yarn over twice before inserting the hook. Yarn over and pull up a loop, then yarn over and pull through two loops three times. That tall stitch creates the center height of each maple point. Keep the final pull-through relaxed so the point is not pulled inward.
Maple leaf instructions
Center ring: Ch 10. Sl st in the first chain to form a ring. Ch 1. The ch 1 does not count as a stitch.
Point 1: Work 1 sc, 1 hdc, 1 dc, 1 tr, ch 3, sl st in the first chain of the ch-3 picot, 1 tr, 1 dc, 1 hdc, and 1 sc into the ring. You have made one leaf point with a picot tip.
Points 2–5: Repeat the Point 1 sequence four more times into the center ring. Checkpoint: you should have five points, each with a picot at its tallest center.
Stem: After the final point, ch 7. Starting in the second chain from hook, sc in each remaining chain. (6 sts) Sl st at the base of the leaf. FO, leaving a tail for weaving in.
Edge shaping: Use your fingers to pull each point gently outward. If you prefer a more defined edge, surface slip stitch with the same yarn from one valley to the next, but do not pull tightly.
Block the finished leaf
Blocking is the step that turns this small motif into a crisp maple leaf. Wet the leaf lightly, press it in a towel, and place it on a blocking board or dry towel. Pin the five picot points outward, straighten the stem, and let the leaf dry completely. If you use acrylic yarn, steam from a short distance without touching the yarn with the iron. Removing the pins too early can let the points curl back in.
Ways to use crochet leaves
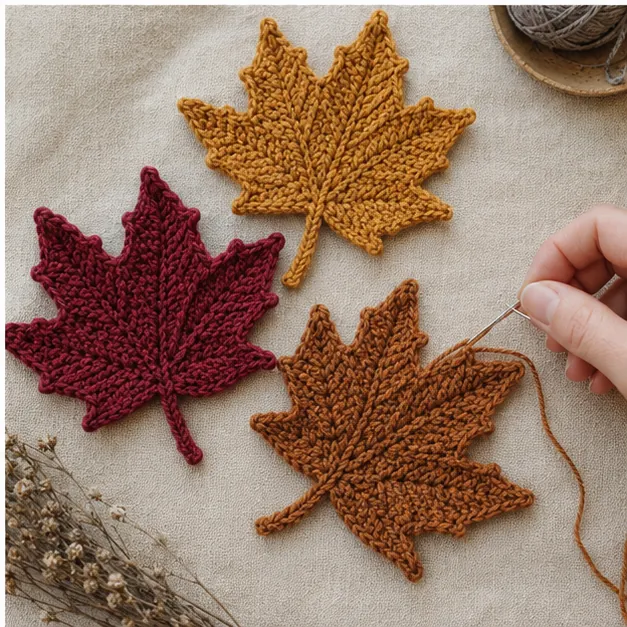
Sew one leaf to the corner of a pillow cover, or attach several to a simple yarn chain for a fall garland. For a table runner, make leaves in three colors and scatter them down the center. You can also stitch a leaf to a wrapped gift as a reusable topper. Use a small hidden stitch through the center ring rather than through the picot points so the leaf retains its shape.
To make a smaller leaf, replace each treble crochet with a double crochet and use ch 2 instead of ch 3 for the picot. To make a larger leaf, use worsted yarn with a 5 mm hook and add a second single-crochet border after the basic leaf is complete. Changing yarn and hook together preserves the proportions more reliably than adding random stitches.
Common mistakes and beginner tips
If the points are crowded, the center ring may be too small or your stitches may be too tight. Make the starting ring with 12 chains instead of 10, or use a hook half a size larger. If the leaf twists, count that every point contains the same sequence: sc, hdc, dc, tr, picot, tr, dc, hdc, sc. If the stem pulls to one side, attach it in the valley between two points and block it straight.
Frequently asked questions
Can I use this as a coaster?
It is better as an applique because the pointed outline is not stable enough for a cup. For a coordinating table item, use a round coaster in the same colors.
How do I attach the leaf to fabric?
Use matching sewing thread or a yarn needle with the leaf tail. Stitch through the center ring and along the lower edges, leaving the points free.
Explore the fall crochet pattern collection, or use these leaves with the crochet pumpkin garland for a fuller autumn display.
Customize Your Project
For another seasonal idea, explore Mini Crochet Pumpkin: Quick Fall Project.
Change colors, edging, or small details only after you have completed one version at the stated gauge. If you substitute yarn, make a new sample because a thicker fiber can change the finished dimensions, drape, and amount of yarn needed. For bags and items that carry weight, add a lining or reinforcement before regular use.
Troubleshooting
The shape or edge is uneven
Stop and recount the previous round or row. Most uneven edges come from a missed increase, an added turning-chain stitch, or inconsistent tension. Correct the last clearly wrong section rather than trying to hide it later.
The finished piece does not match the measurement
Compare your gauge sample with the stated check. A smaller hook makes a firmer, smaller fabric; a larger hook makes a looser, larger one. Keep the stitch counts unchanged unless the pattern specifically gives resizing instructions.
A seam or attachment feels loose
Use matching yarn and short back-and-forth stitches through the crochet fabric. Reinforce high-stress points with a second pass, then weave the tail in securely.
Quick Project Plan
| Step | Action |
|---|---|
| 1 | Prepare yarn, hook, tools, and a gauge sample. |
| 2 | Follow the directions, count regularly, and check measurements. |
| 3 | Finish, reinforce, weave in ends, and review the project. |
Check Before You Finish
Test any hanging loop, strap, seam, or closure with a gentle pull. Lay flat items on a table to confirm they do not curl; lightly stuff three-dimensional pieces to an even shape. Adjust length, placement, or reinforcement before trimming the final yarn tail.
More Crochet Projects and Guides
- fall crochet pattern collection
- crochet pumpkin garland
Final Thoughts
Use the measurements as checkpoints and adjust only after confirming your gauge. Whether you keep the finished crochet maple leaf pattern for your own home or make it as a gift, take a moment to check the size, seams, and woven-in ends before calling it complete. For more Fall Crochet inspiration and fresh project ideas, follow Crochet by Season on Pinterest and Facebook.