Design and review note: These original written instructions have been reviewed for stitch arithmetic and construction logic, but have not been physically crocheted or sample-tested. Measurements are planning estimates, not verified finished sizes. Existing images are illustrative, not a photographic record of this exact design. Make a sample and check the relevant fit, shape and attachments before use.
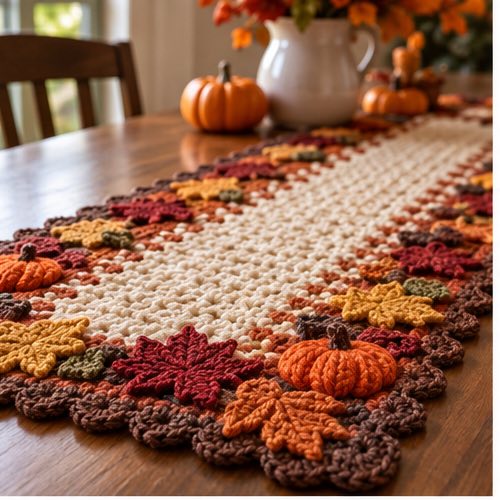
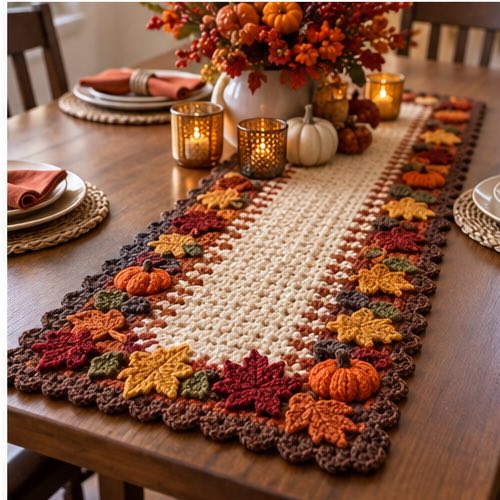
Make an autumn table runner from a rectangular half-double-crochet panel, two tidy single-crochet borders and four small leaves. The numerical plan below targets approximately 30 by 107 cm, but you must measure your own swatch and project rather than assuming those dimensions.
Pattern status: This is an original unworked design. Stitch arithmetic and border allocation were reviewed on paper; no finished sample or measured gauge has been verified. Accompanying images are illustrative, not evidence of this exact construction.
Materials and planning gauge
- Worsted washable cotton in cream, plus rust or gold for the border and scraps for four leaves.
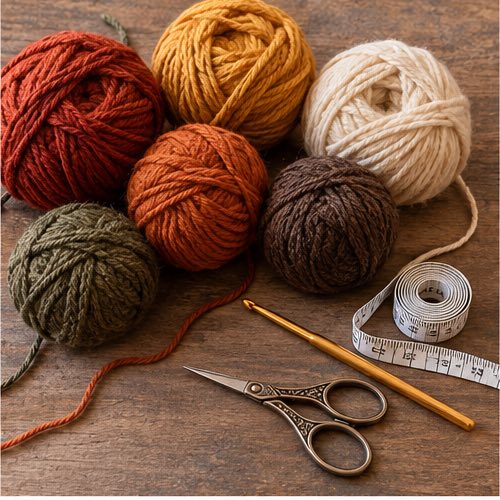
- 4.5 mm hook as a starting point, yarn needle, scissors, four corner markers and measuring tape.
Planning gauge is 16 hdc stitches and 12 hdc rows per 10 cm. This is a target for calculations, not a measured sample. Crochet a swatch larger than 10 cm, wash and dry it as the finished runner will be treated, then measure the center. Change hook if necessary. Yarn amount has not been measured; weigh your swatch, calculate its area and allow additional yarn for borders, leaves and finishing.
US terms and working notes
Ch = chain; sc = single crochet; hdc = half double crochet; dc = double crochet; sl st = slip stitch; st = stitch. Turning ch 1 does not count. Work through both loops. A row-end space means the side of one completed hdc row, not a stitch along its top edge.
Center panel
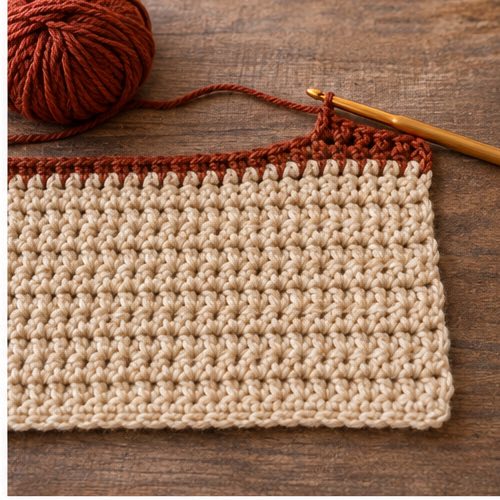
Ch 45. Row 1: hdc in the second chain and every remaining chain. (44 hdc) Rows 2–124: ch 1, turn, hdc in each of 44 stitches. (44 each row) Check the count at every row end and measure width and length periodically. At the planning gauge, the unbordered panel is approximately 27.5 cm wide and 103.3 cm long. Do not claim those measurements if your swatch differs.
Fasten off. Lay the panel flat and mark each of its four physical corners. Keep row-end sides accessible for the border.
Border round 1: 426 stitches
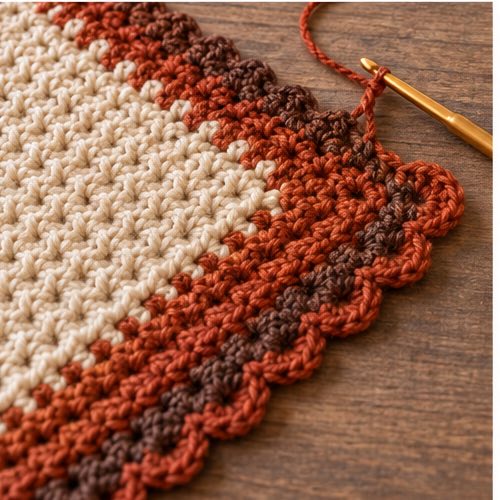
Join the border color at a corner. Ch 1, work 3 sc in that corner. Along the next long side, work [1 sc in each of the next 2 row ends, 2 sc in the next row end] 41 times, then 1 sc in the remaining row end. This uses all 124 row ends and gives 165 side stitches.
Work 3 sc in the next corner. Along the short end, work 1 sc in each of the 42 stitches between the corners. Work 3 sc in the next corner. Work the same 165-stitch allocation along the opposite 124-row long side. Work 3 sc in the fourth corner, then 1 sc in each of the 42 stitches between that corner and the starting corner. Join to the first sc. Count: 165 + 42 + 165 + 42 + 12 corner stitches = 426 sc.
Mark the middle stitch in each 3-sc corner group. The first and last row ends of the long edges still receive their side allocation; the corner groups occupy the corner stitch points, not an extra skipped row end.
Border round 2: 434 stitches
Ch 1. Sc in every stitch of the previous round, except work 3 sc in each of the four marked middle-corner stitches. Move each marker to the middle sc of its new group. Join to the first sc and fasten off. Each corner adds 2 stitches, so 426 + 8 = 434. Weave tails into the back without tightening the corners.
Border tension varies between yarns. Lay it flat after round 1, before continuing. If the border waves or draws in despite correct counts, the side allocation does not suit your actual row/stitch gauge: undo that border and calculate an even distribution from your measured swatch rather than stretching it to hide the problem.
Four simple leaves
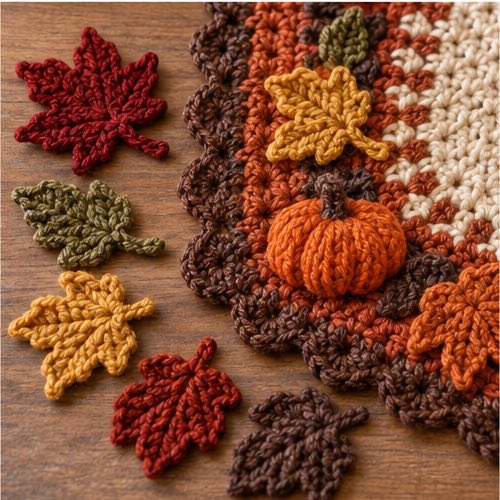
For each leaf, ch 7. On the first side, work sc in the second chain, hdc in the next, dc in each of the next 2 chains, hdc in the next and 3 sc in the last. Rotate to the underside and work hdc in the next chain, dc in each of the next 2, hdc in the next and 2 sc in the final chain. Join to the first sc. (14 stitches) Fasten off with a sewing tail. Make four in matching or alternating autumn colors.
Place leaves and finish
Wash or damp-block the panel according to its cotton label, keeping corners square. Let it dry completely. Place one leaf near each short-end corner, with the leaf fully supported by the panel rather than hanging loose. Pin them, compare positions, then sew through their back loops with small stitches. Remove all pins. Keep the central serving area free of raised appliques so cups and dishes sit evenly.
The two border rounds add an amount determined by your actual sc gauge. Measure the dry finished runner; the approximate 30 by 107 cm planning size is not a guaranteed result.
Troubleshooting
The panel narrows: check that all 44 hdc are worked and the final stitch is not missed. The first border ruffles: do not add another round to disguise it; review actual row-end spacing and hook size. The corners curl: verify that round 2 places 3 sc into each marked middle-corner stitch, not into every stitch in the corner group.
Questions about this runner
Can I shorten the runner?
Yes. Stop the plain panel at your desired measured length. The 165-stitch side allocation applies only to 124 rows; recalculate and distribute the side stitches for your actual row count.
Can I make the main panel striped?
Yes. Change colors at row ends and keep all yarns the same weight. Weave tails flat and check that the color changes do not shorten one edge.
Should I put leaves beneath serving dishes?
No. Raised decoration can make dishes unstable. Keep leaves near the ends and check the central surface with empty dishes before use.
Safety and care
This runner is decoration, not thermal protection. Keep it away from open flames and do not place hot pans directly on it. Use washable compatible fibers, test for color bleeding and dry flat after laundering.
Final Thoughts
Swatching and measuring are essential for a long rectangle. Finish a sample, record your actual border distribution and only then describe its measured dimensions.
More Crochet Projects & Guides
When you are ready for another project, explore this crochet maple leaf pattern and keep building your seasonal crochet collection one clear project at a time.