Design and review note: These original written instructions have been reviewed for stitch arithmetic and construction logic, but have not been physically crocheted or sample-tested. Measurements are planning estimates, not verified finished sizes. Existing images are illustrative, not a photographic record of this exact design. Make a sample and check the relevant fit, shape and attachments before use.
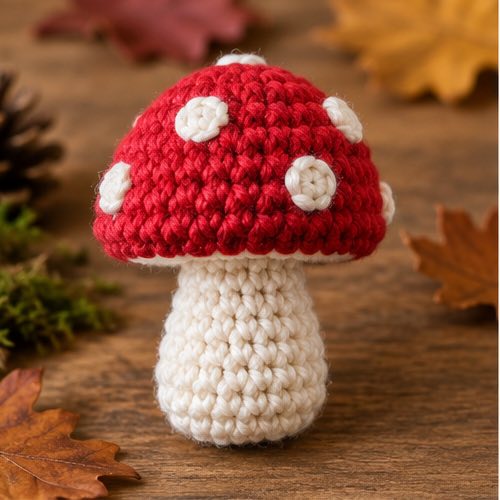
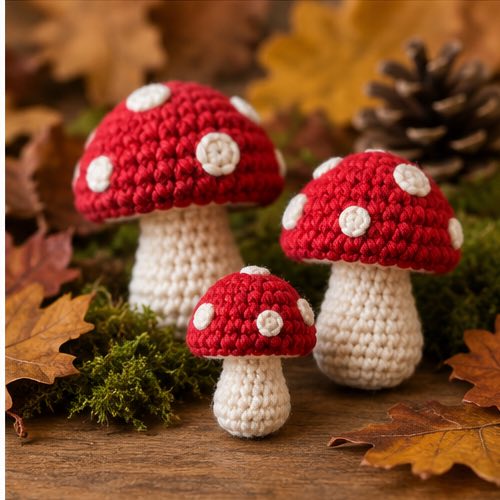
This original mushroom combines a red domed cap with a closed cream stem. The pieces are crocheted separately in continuous single-crochet rounds, stuffed and sewn together. Small embroidered spots give it a woodland look without detachable buttons.
Pattern status: Stitch arithmetic has been desk-reviewed, but no physical sample has been made. The final proportions, exact size, gauge and yarn quantity are unverified. Images are illustrative rather than photographs of this worked pattern.
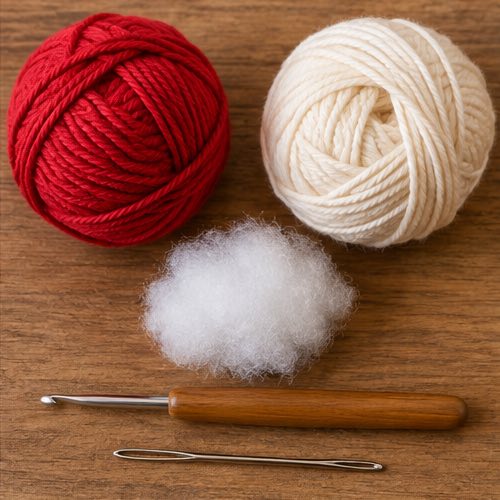
Materials and gauge planning
- Smooth DK cotton in cap and stem colors, plus a little contrasting embroidery yarn.
- 3 mm hook as a starting choice; use a smaller hook if stuffing is visible through your swatch.
- Polyester stuffing, marker, scissors and yarn needle.
Work a small swatch and check for dense, pliable stitches before beginning. No exact measured gauge or finished height is claimed. Avoid changing yarn weight between the two main pieces. Weigh a completed sample to plan a batch.
US terms and construction
MR = adjustable magic ring; sc = single crochet; inc = 2 sc in one stitch; dec = single crochet two stitches together; st = stitch. A decrease consumes two stitches and produces one. Work in continuous rounds without a joining slip stitch or turning chain. Mark the first stitch and move the marker after every round. Parenthesized totals are the number of stitches after the round.
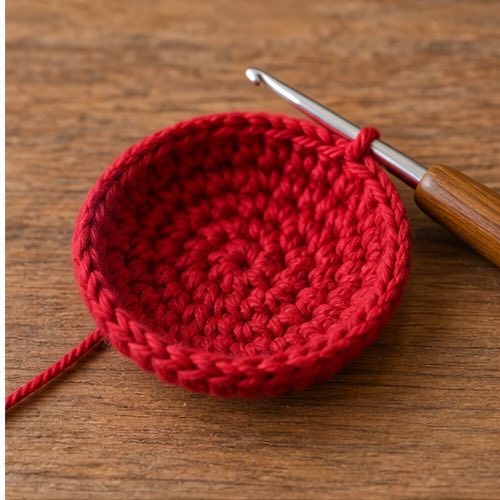
Mushroom cap
With the cap color:
- Round 1: 6 sc in MR. Close the ring. (6)
- Round 2: inc in each stitch. (12)
- Round 3: [sc, inc] 6 times. (18)
- Round 4: [2 sc, inc] 6 times. (24)
- Round 5: [3 sc, inc] 6 times. (30)
- Round 6: [4 sc, inc] 6 times. (36)
- Rounds 7–8: sc in each stitch. (36 each round)
- Round 9: [4 sc, dec] 6 times. (30)
- Round 10: [3 sc, dec] 6 times. (24)
Fasten off, leaving a long sewing tail. The cap is open underneath. Embroider several small spots before stuffing, keeping every knot and yarn end inside. Do not add separate buttons or plastic eyes.
Stem and underside
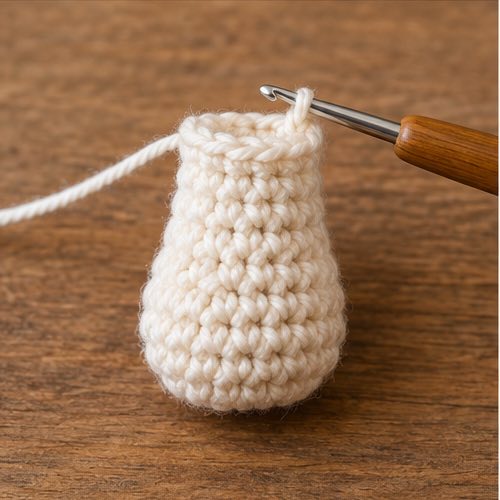
With the stem color:
- Round 1: 6 sc in MR. (6)
- Round 2: inc in each stitch. (12)
- Round 3: [sc, inc] 6 times. (18)
- Round 4: working in back loops only, sc in each stitch. (18)
- Rounds 5–9: through both loops, sc in each stitch. (18 each round)
- Round 10: [sc, dec] 6 times. (12)
- Rounds 11–12: sc in each stitch. (12 each round)
- Round 13: inc in each stitch. (24)
Fasten off. The final 24-stitch rim is an expanded collar that closes the cap's underside. Stuff the stem through this opening, adding small amounts until it holds its shape without stretching the stitches.
Join the mushroom
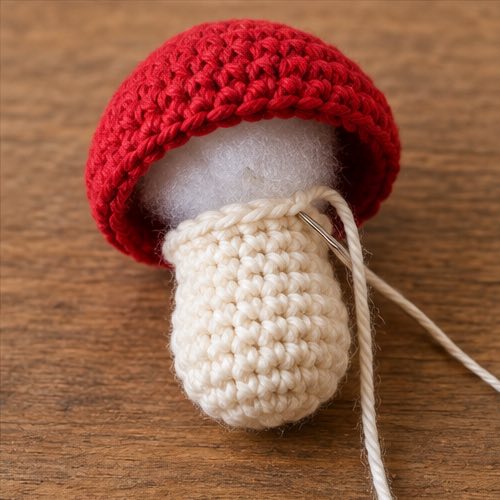
Check that both openings have 24 stitches. Hold the cap over the stem with right sides outside and openings together. Mark four pairs of corresponding stitches, six stitches apart, to prevent twisting. With the cap tail, sew each cap-rim stitch to one stem-collar stitch using a whipstitch through both loops. After about three quarters of the seam, add a little stuffing to the cap. Finish all 24 paired stitches. Secure the tail, pass it through the interior and trim only after checking the seam.
The cap should overhang the narrower stem. Do not force it perfectly flat or claim a measured height without making and measuring a sample.
Troubleshooting
Rims do not match: cap round 10 and stem round 13 must each contain 24 stitches. Correct a count error before sewing. The stem falls over: place it on a flat surface and redistribute stuffing rather than adding hard pellets. Cap looks overfilled: remove a little filling before closing the seam; a taut surface can spread the stitch holes.
Questions about this mushroom
Can I omit the spots?
Yes. They are embroidered surface decoration and do not affect the cap's stitch count or closure.
Can I replace DK yarn with plush yarn?
That changes gauge, definition and size. It needs a separate sample and suitable hook; the original dimensional assumptions should not be carried over.
Why is the last stem round wider?
Its 12 increases create a 24-stitch collar matching the cap opening. Do not continue the narrow 12-stitch stem directly into the seam.
Safety and care
Treat this untested project as a shelf decoration, not a child-safe or pet-safe toy. Use embroidered details, secure seams and keep loose filling inaccessible. Avoid wire and weighted pellets. Spot clean according to the yarn and stuffing labels, then dry completely.
Final Thoughts
Check the two matching rims before assembly, then adjust stuffing slowly. Record the result of your first worked sample before planning multiple mushrooms.
More Crochet Projects & Guides
Explore the crochet maple leaf pattern for another autumn motif, then browse the site for simple projects that build confidence one clear step at a time.