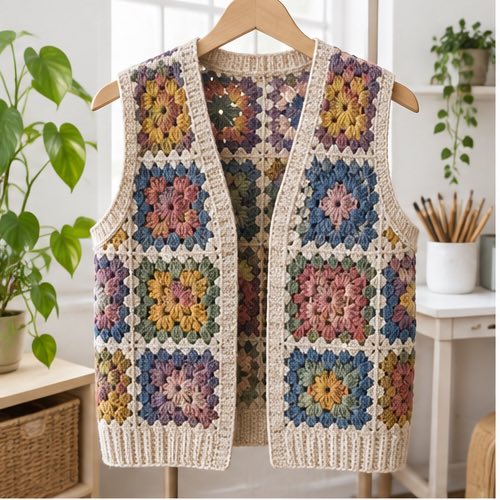
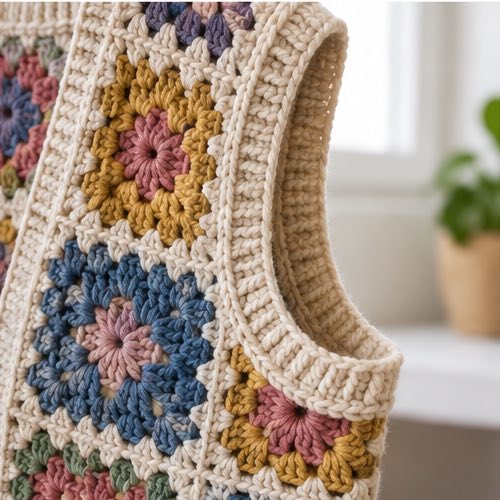
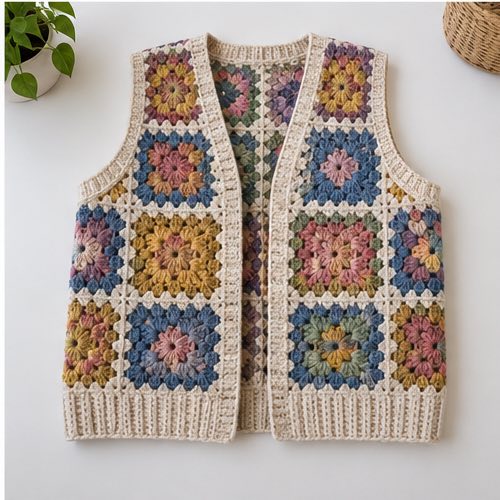
Design and review note: These original written instructions have been reviewed for stitch arithmetic and construction logic, but have not been physically crocheted or sample-tested. Measurements are planning estimates, not verified finished sizes. Existing images are illustrative, not a photographic record of this exact design. Make a sample and check the relevant fit, shape and attachments before use.
Original made-to-measure written design; not physically tested or size graded. This vest uses two identical large granny squares, joined at the shoulders and lower sides to create a simple boat-neck layering garment. It is not a patchwork vest made from many small squares. Its numerical round construction is supplied below; fit is determined from your blocked square and measurements. No claim is made that illustrative photographs show this exact construction.
Materials and measurements
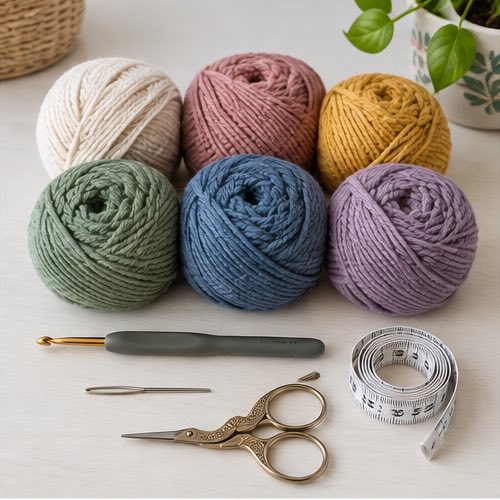
Choose one smooth DK or worsted yarn and a 4–5 mm starting hook, adjusting for a flexible, wearable granny-stitch fabric. Use a yarn needle, scissors, tape measure and at least eight markers. Yardage cannot be promised before making the square and a physical garment. Keep adequate matching yarn for two large squares and seams; do not mix substantially different yarn weights.
US terms: ch = chain; dc = double crochet; sl st = slip stitch; sp = space; st = stitch. A cluster here means three separate dc into the same space, not three dc closed together. The initial ch 3 counts as one dc. Join every round with a sl st into its third chain. Work with the same side facing and do not turn the rounds.
Make the measurement worksheet first
Record body circumference B at the fullest chest, intended positive ease E, head circumference H, desired armhole depth D measured from shoulder to underarm, and upper-arm circumference U. Measure over the shirt you intend to wear beneath the vest. All following values are centimeters.
- Required square width W = (B + E) divided by 2. Choose positive ease deliberately, for example 8–12 cm as a starting preference rather than a tested fit rule.
- Each square is also W cm tall. This design therefore couples garment length to chest width: it cannot provide an independently chosen length without redesign.
- Central neck opening N must be at least (H + 4) divided by 2. The two unsewn top edges provide an approximate opening perimeter of 2N; seam thickness and fabric stretch affect head passage. Test passage before finishing.
- Each shoulder seam length P = (W − N) divided by 2. If P is less than 6 cm, stop: these proportions do not supply useful shoulder coverage. Do not quietly reduce the neck opening.
- Unsewn upper side depth A = the larger of D and (U + 6) divided by 2. This gives a nominal armhole perimeter of 2A. If W − A is less than 10 cm, stop and redesign rather than publish an inadequate side seam.
Worked numerical planning example, not a graded size: B = 92, E = 8 gives W = 50 cm. H = 56 gives N = 30 cm and P = 10 cm at each shoulder. D = 22 and U = 32 give A = 22 cm, leaving a 28 cm lower side seam. Resulting flat dimensions are approximately 50 cm width and 50 cm length per panel, with about 100 cm chest circumference before seam take-up. These are planning dimensions; they are not verified finished garment measurements.
1. Work two matching granny squares
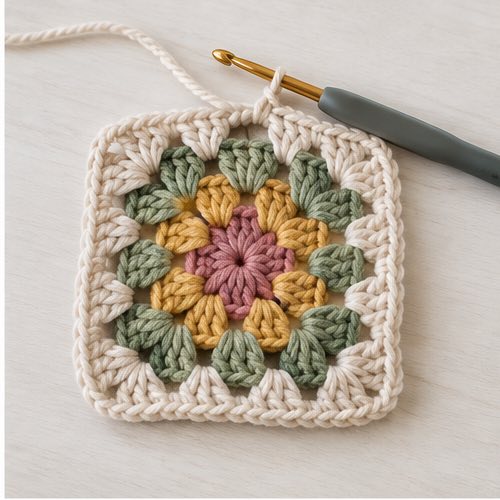
Foundation: ch 4 and sl st into the first chain to form a ring. Round 1: ch 3, 2 dc into the ring, ch 2; work (3 dc into the ring, ch 2) three times; join to the top of the initial ch 3. Count four 3-dc groups, 12 dc including the initial chain, and four ch-2 corner spaces.
Round 2: sl st across the next two dc and into the first corner space. In that corner work (ch 3, 2 dc, ch 2, 3 dc). Ch 1. In each of the next three corner spaces work (3 dc, ch 2, 3 dc), with ch 1 between corners. After the fourth corner, ch 1 and join. Count 24 dc, four ch-2 corners and four ch-1 side spaces.
Round 3 and every later round: sl st across the next two dc into the first corner. In that corner work (ch 3, 2 dc, ch 2, 3 dc). Ch 1; work 3 dc into each ch-1 side space of the previous round, with ch 1 between successive groups and before the next corner. In each remaining corner work (3 dc, ch 2, 3 dc), then work the side spaces in the same way. After the last side group, ch 1 and join. Never work a side group into a dc stitch: the side groups go into the ch-1 spaces.
After round n, the square has 4n groups and 12n dc, plus four ch-2 corner spaces and 4(n − 1) ch-1 side spaces. For example, round 3 has 36 dc and eight ch-1 side spaces; round 4 has 48 dc and twelve ch-1 side spaces. Each successive round adds 12 dc. Count before proceeding.
2. Establish a blocked square gauge
Work six rounds, wash according to the yarn label, shape without stretching and dry flat. Measure straight across the square, not diagonally. Record the six-round width Q. The estimate n approximately equals 6W divided by Q can help plan, but it is not an exact linear gauge formula because the center and corner chains contribute differently. Continue the first square in complete rounds, periodically checking its blocked width until it reaches your chosen W. Record the actual final round count n and width, then make and block the second square to match.
If the nearest complete round changes W, recompute actual chest circumference 2W, N, P, A and side-seam length. Do not force a square into a target measurement by excessive blocking. Both squares must have the same final round count and dimensions. If the square is rippled or cupped, resolve tension and space counts before assembly.
3. Mark shoulders, neckline and armholes
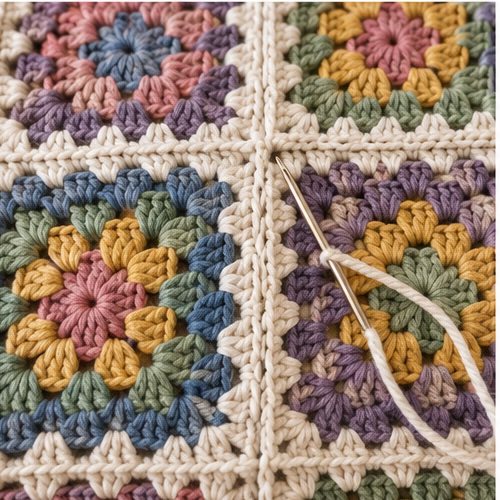
Place squares together with right sides facing. On each top edge, measure P from each outer corner toward the middle and mark both endpoints. The central N section stays open. On each side edge, measure A downward from the upper corner and mark the point: the upper A section remains open for the armhole; the lower W − A section is sewn. Match corresponding outer-round dc and chain spaces between the two squares. Treat each chain within a corner or side space as an individual matching anchor when it lies along your seam.
Use temporary contrasting-yarn basting first. Join the two top outer P sections, then the two lower side sections. Do not sew all the way up a side or across the center top. Try on carefully without pulling against pins. Confirm that your head passes through the neckline, shoulders sit comfortably and armholes do not pinch when reaching forward. Neckline perimeter is only a planning check, not proof of comfortable passage.
4. Sew and finish
Remove temporary basting one section at a time and whipstitch corresponding outer-round stitches and chain anchors with matching yarn. Keep seams flat and flexible. At a marked endpoint between anchors, stop at the nearest corresponding pair that preserves the required opening; do not shrink an opening to obtain an arbitrary stitch count. Secure the shoulder/armhole junctions through several adjacent stitches without drawing them tight. Turn right side out and weave ends in two directions.
This version has no ribbing or additional edging, so it does not require an unprovided pickup rate or alter the calculated opening sizes. Adding edging can shrink an opening and requires another fit check. Check neckline, armholes and hem after washing. A garment sample, wear assessment and seam assessment are still required.
Troubleshooting
- One square is larger: compare round counts and wash both in the same way before seaming.
- Head will not pass: remove basting and shorten each shoulder seam symmetrically, preserving adequate shoulder coverage; do not rely on force or stretch.
- Armhole pinches: remove part of the upper side seam and increase A, then confirm enough lower seam remains.
- Vest is too long or short: this square-panel design ties length to width. Select another construction rather than claiming the worksheet grades length independently.
Questions About This Project
Is the example a tested medium size?
No. It is a numerical example using a 92 cm body circumference. It is neither a standard size chart nor a verified fit sample.
Can I use many small squares instead?
Not with these instructions. Small-square layouts introduce additional seams, different gauge behavior and neckline shaping. This design uses exactly two large squares.
Can I omit the try-on?
No. Head passage, armhole shape, seam take-up and individual shoulder proportions cannot be established by stitch arithmetic alone. Baste and check before final sewing.
Final Thoughts
The complete round algorithm and fit worksheet provide a transparent starting design. Before calling it a tested wearable pattern, make a physical garment, record yarn consumption and actual measurements, check movement and laundering, and photograph this exact two-square construction. No guarantee is made that it reproduces illustrative imagery.
More Crochet Projects & Guides
When you are ready for another project, explore this crochet maple leaf pattern and keep building your seasonal crochet collection one clear project at a time.