Design and review note: These original written instructions have been reviewed for stitch arithmetic and construction logic, but have not been physically crocheted or sample-tested. Measurements are planning estimates, not verified finished sizes. Existing images are illustrative, not a photographic record of this exact design. Make a sample and check the relevant fit, shape and attachments before use.
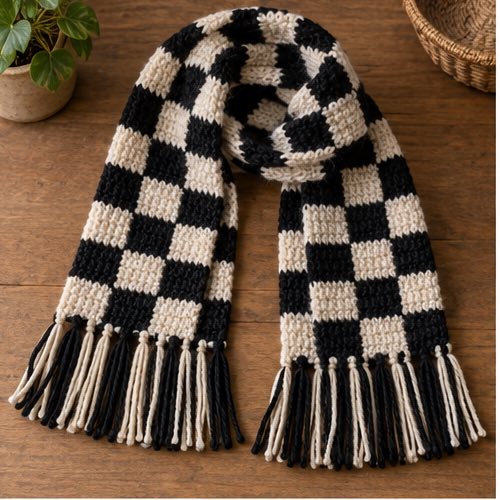
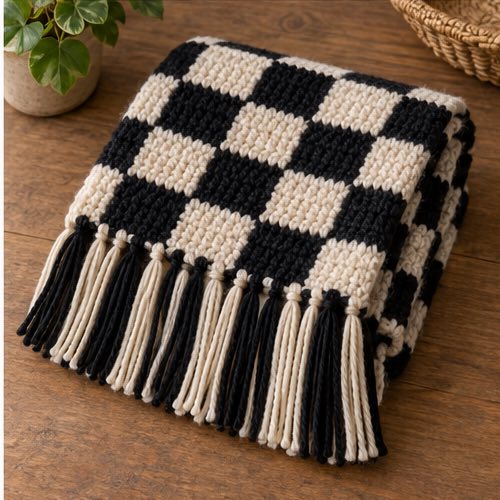
Original numerical design; not physically tested. This checkered scarf is worked in single crochet using four separate yarn bobbins across each row. It avoids carrying unused yarn across the entire width. Stitch arithmetic has been checked, but drape, finished measurements, yarn consumption and the appearance of the color joins require a physical sample.
Materials, gauge and dimensions
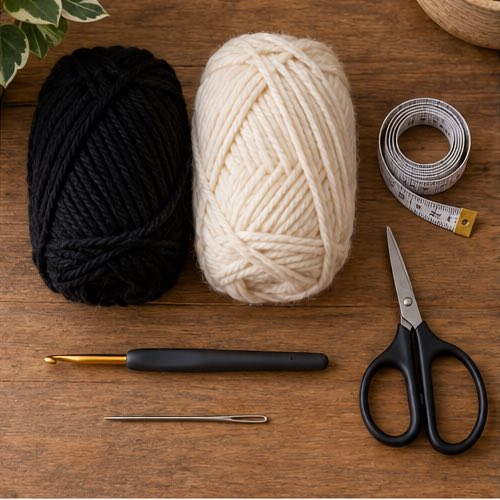
Use two contrasting colors A and B of the same worsted-weight yarn, a 5 mm starting hook, four small bobbins, yarn needle, scissors and ruler. Wind one bobbin per vertical block: two A and two B, keeping them small enough to untangle. No measured yardage is supplied: establish consumption with a two-block-height sample before planning the full scarf.
US terms: ch = chain; sc = single crochet; st = stitch. Turning ch 1 does not count. Target washed gauge: 18 sc and 24 rows per 10 cm. Work a swatch larger than the measuring area; measure after washing and drying without stretching. At this gauge, eight stitches and eleven rows form an approximately 4.44 by 4.58 cm check. Four checks give 32 stitches, approximately 17.78 cm wide. Thirty-three check bands give 363 rows, approximately 151.25 cm long before fringe. These calculated dimensions are close to 7 by 60 inches, not a measured sample result.
Read the color plan
Number the four vertical blocks 1–4 in the direction worked on row 1. This direction depends on whether you crochet right- or left-handed; work the columns in reverse order on the return row. Each block always contains eight sc. Rows 1–11 use physical blocks A, B, A, B. Rows 12–22 use B, A, B, A. Repeat this 22-row cycle. Your work turns every row, so the order encountered while crocheting reverses on alternate rows.
Working-direction table: in a band with physical colors A/B/A/B, odd-numbered rows are worked A8, B8, A8, B8; even-numbered rows are worked B8, A8, B8, A8. In the next band with physical colors B/A/B/A, odd rows are worked B8, A8, B8, A8; even rows are worked A8, B8, A8, B8. These are global row numbers from the start, not numbers restarted within each band. Place a marker on the right-side face so you can check the physical color columns.
1. Foundation and first check band
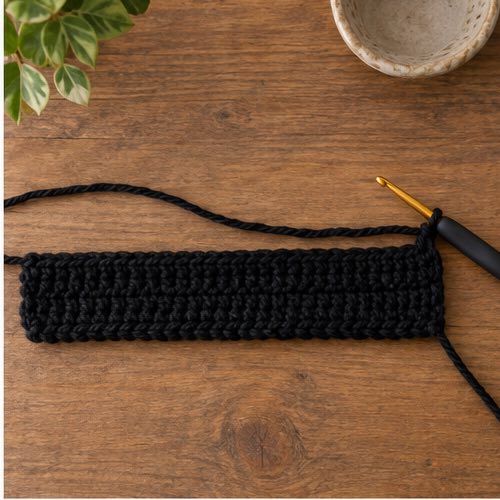
With A, ch 33. Row 1: sc in the second chain from the hook and next seven chains: eight sc in block 1. Change to B on the final yarn-over of that eighth sc. Work eight sc with B; change to a separate A bobbin in the final yarn-over of its eighth sc. Work eight sc with that A and finish with eight sc from a separate B bobbin. Total: 32 sc. Each color block consumes eight foundation chains; all 32 available chains are used.
Row 2: ch 1 with the current B, turn, sc eight with B, eight with A, eight with B and eight with A, changing on the last yarn-over before each boundary. Count 32 sc. Rows 3–11: ch 1, turn and repeat the appropriate working-direction order above, keeping each physical color column above itself. Do not restart every turned row with A: doing that would reverse the intended color blocks prematurely.
2. Manage intarsia joins
At each internal color boundary, leave two loops of the final old-color sc on the hook, place the new yarn underneath the old strand on the wrong-side face, and use the new yarn to complete that stitch. This crossing links the blocks. Do not knot each join. Leave a little slack and spread the last eight stitches to their natural width before continuing, so the fabric does not draw inward. Keep all bobbins on the wrong-side face and untangle after each row.
Do not carry a strand across the full scarf or float it behind a whole eight-stitch block. Each bobbin supplies only its own vertical block. When turning, bring the bobbins around with the work, then check that the strands have not accidentally formed a long loose float across another block.
3. Reverse the checks and continue
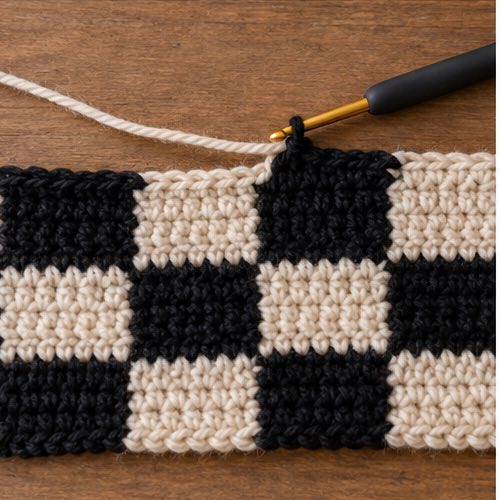
After row 11, fasten off the four bobbin strands leaving generous weaving tails. For row 12, start the new band with the opposite color in every physical column. Because row 12 is even, its working order is A8, B8, A8, B8. Join the appropriate new bobbin at each eight-stitch boundary using the same crossing method. At a new band start, draw the new first color through the final loop of the preceding row if that strand is available, or join it with a secured starting loop; then ch 1 and turn before working the first sc. Secure all cut tails by weaving after the next few rows are complete.
Keep reversing the four physical colors after every eleven rows. Work rows 1–22 as established, repeat that 22-row arrangement fifteen more times to complete 352 rows, then work the next eleven-row band to reach 363 rows. Equivalently, work thirty-three bands of eleven rows, alternating their physical A/B arrangement. Every row has 32 sc; no increase or decrease is used.
For a different length, stop after any complete eleven-row band. For another gauge, choose an even number of blocks and a whole stitch count k per block. Use total width stitches = block count times k and start with one extra chain. Choose band rows approximately k times row gauge divided by stitch gauge, then swatch the check to see whether it looks square. Record the chosen numbers; do not mix them with the fixed 32-stitch example.
4. Finish with optional fringe
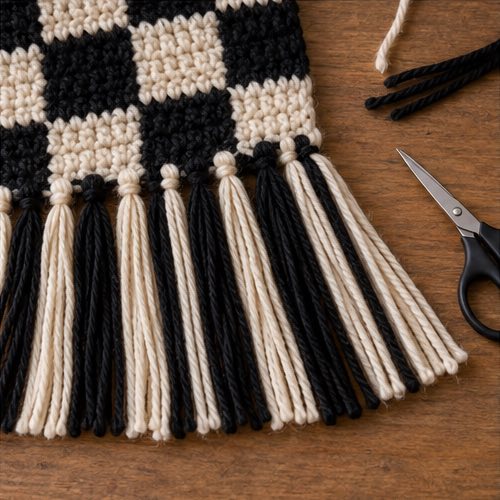
Fasten off and weave every intarsia tail into its own color region, changing direction. Wash according to the yarn label and dry flat. The scarf has no crocheted edging in this version. If adding fringe, cut sixteen strands approximately 20 cm long for each short end. Fold each strand in half, pull the fold through the edge and pass both free ends through it to form a lark's-head knot. Position one knot at every other stitch across the 32-stitch end: sixteen positions. Trim evenly. Folded fringe is approximately 10 cm before knot take-up, not an exact finished length.
Troubleshooting
- Checks turn into stripes or zigzags: check physical columns and the global odd/even row table rather than blindly starting with the same color after turning.
- Holes appear at boundaries: cross the new yarn under the old on the wrong side at each join; do not pull the boundary tight to disguise a missing crossing.
- The scarf narrows: spread each color block before changing and recount all 32 sc.
- Checks look tall: reduce rows per band after sampling; stitch gauge and row gauge are not interchangeable.
Questions About This Project
Why do I need four bobbins for two colors?
The same color appears in two separate columns. Separate supplies prevent long floats or carrying unused yarn across unrelated blocks.
Does eleven rows always make a square?
No. Eleven rows roughly match eight stitches only at the stated planning gauge. Use the gauge formula and inspect a washed sample.
Can I omit fringe?
Yes. Secure the yarn tails and leave the short edges plain. The calculated scarf length excludes fringe, so omitting it does not change the number of body rows.
Final Thoughts
Inspect the wrong-side joins and all woven ends before wearing. Keep long scarves and fringe away from machinery and young children. This is an unworked written design; a sample must confirm drape, yarn quantity, laundering behavior and exact appearance before it can be presented as physically tested.
More Crochet Projects & Guides
When you are ready for another project, explore this crochet maple leaf pattern and keep building your seasonal crochet collection one clear project at a time.