Design and review note: These original written instructions have been reviewed for stitch arithmetic and construction logic, but have not been physically crocheted or sample-tested. Measurements are planning estimates, not verified finished sizes. Existing images are illustrative, not a photographic record of this exact design. Make a sample and check the relevant fit, shape and attachments before use.
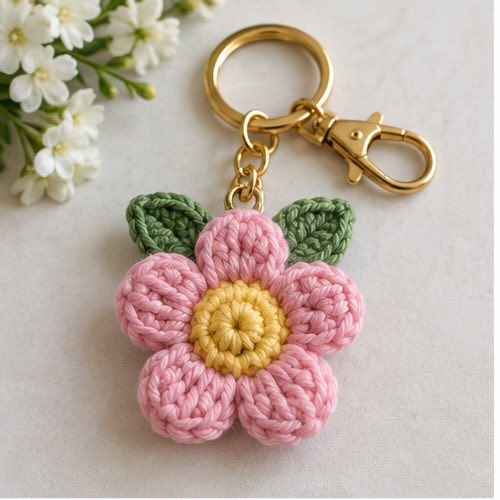
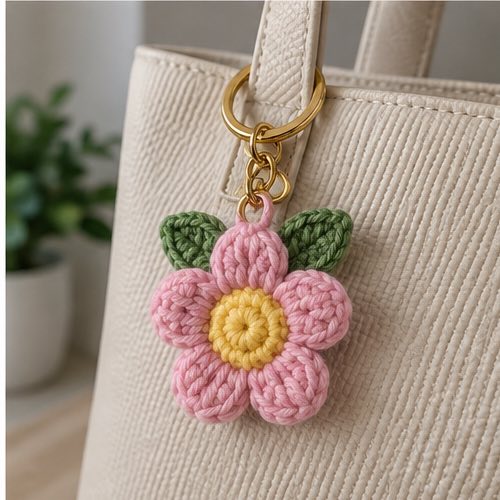
Original flower-charm design; not physically tested. This flat flower uses a six-stitch center, twelve stitches in its second round and six petals. A short doubled cord connects it to a smooth keyring. The stitch counts and anchoring sequence have been checked on paper, but dimensions, wear and attachment strength require a physical sample. It is decorative, not a toy or a load-bearing connector.
Materials and planning
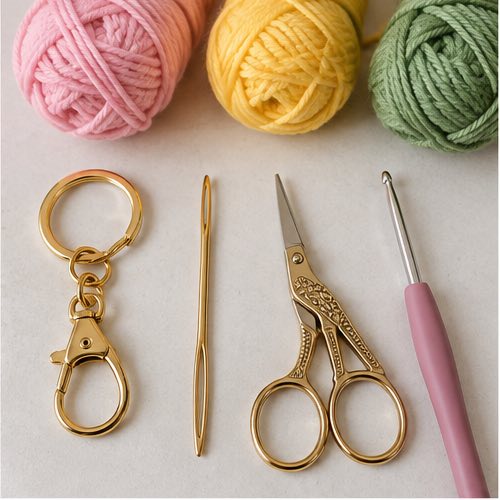
Use small amounts of smooth cotton in a center color and petal color, a 3–3.5 mm starting hook, yarn needle, scissors, marker and a smooth closed or split keyring without sharp edges. Cotton is a starting material choice, not a strength certification. No sample-measured yarn quantity or finished diameter is available. Do not promise the previous 2.5-inch estimate: petal height and center tension determine the result.
US terms: ch = chain; sc = single crochet; dc = double crochet; sl st = slip stitch; st = stitch. Initial ch 1 does not count. An increase means two sc into one stitch. Work into both loops unless stated. No stuffing, bead, button or plastic eyes are used.
1. Make the flower center
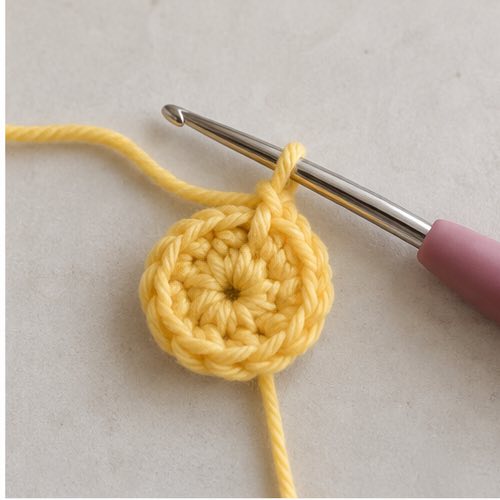
With the center color, ch 2. Round 1: work six sc into the second chain from the hook. Join with a sl st to the first sc: six sc. Place a marker in the first real sc rather than the joining slip stitch.
Round 2: ch 1; work two sc into each of the six sc of round 1. Join to the first sc: twelve sc. Do not work into the previous joining slip stitch. Fasten off, leaving a tail to secure the small starting hole and weave in on the back. There are twelve available stitch positions for the six two-position petals.
2. Work six petals
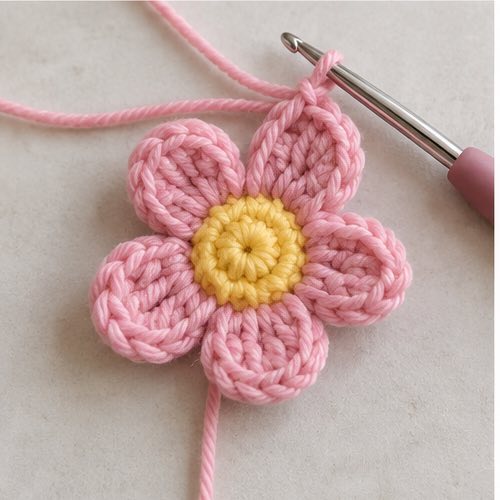
Join the petal color with a sl st into any of the twelve sc. Ch 1; this chain does not count. Repeat the following unit six times: in the current unworked sc work (sc, ch 2, three dc, ch 2, sc), all anchored in that same sc; sl st into the next sc. Advance to the following unworked sc for the next petal without adding a stitch between the slip stitch and that next petal. After the sixth unit, the final sl st lands in the twelfth center stitch. Join with a sl st into the first petal's first sc and fasten off.
For clarity, petals are anchored in center stitches 1, 3, 5, 7, 9 and 11; separating slip stitches occupy 2, 4, 6, 8, 10 and 12. Each petal contains two sc, three dc and four chain stitches; the center supplies one anchor per petal and one per separator. Do not skip an extra center stitch between units. Count six petals and six separators before weaving ends.
3. Attach a doubled hanging cord
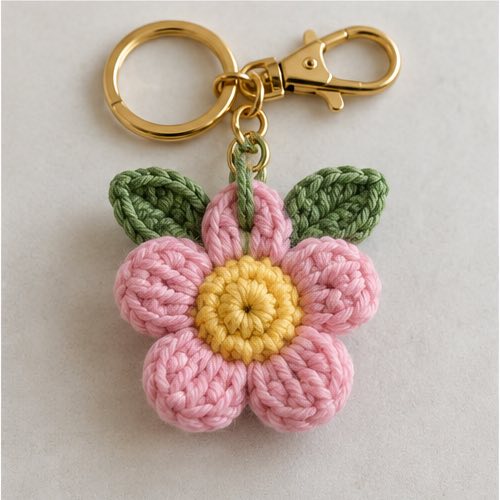
Choose the gap between two petals for the upper attachment so no petal carries the pull alone. With separate matching cotton, ch 16 and fasten off, leaving at least 20 cm at both ends. Thread one end of the chain through the keyring, then bring its two chain ends together behind the chosen gap. The cord folds in half around the ring; its length is not predictable from sc gauge, so check the drop against the bag and remake it shorter or longer if required.
Using one tail, sew its chain end through both loops of the separating center sc and through an adjacent round-2 stitch. Make several small passes through these structural stitches without cinching the flower. Anchor the other chain end separately through the same structural area with its own tail. Weave both tails in different directions through the back of the center. Do not attach the cord solely through a ch-2 petal arch or a tall dc.
4. Shape and check
Lay the flower flat, spread the six petals evenly and damp-shape according to the yarn label. Do not force petals flat with hot steam, especially if a substituted yarn is heat-sensitive. Inspect the starting hole, six petal bases, both cord anchors and hardware for rough edges. Gently lift the charm by its cord to check balance; this is not a strength test. Keep hardware and loops away from babies and pets, and do not use the charm to carry keys whose loss would matter until its suitability has been physically checked.
Adjustments and troubleshooting
- If the center cups, check that round 2 has exactly twelve sc and that the joining slip stitch was not counted.
- If there are five or seven petals, label the twelve center stitches and rework one six-unit petal round.
- If the petals overlap excessively, first check counts and loosen ch-2 arches; do not arbitrarily remove center stitches.
- If the flower stretches at the top, use both center stitches as described and shorten the cord. Stop using it if an anchor loosens.
Questions About This Project
Can this be used as a child's toy?
No. The keyring, cord and detachable fibers create hazards. This design is a decorative bag accessory and has not undergone toy-safety testing.
Can I use a lobster clasp instead of a ring?
Only if its attachment eye is smooth and large enough for the doubled cord without cutting or pinching the yarn. Check the actual hardware and attachment by making a sample; no clasp strength is certified here.
How do I change the flower diameter?
Use another yarn/hook combination and make a sample while preserving the six-petal/twelve-center-stitch relationship. A different hook changes the result, but no fixed diameter is guaranteed.
Final Thoughts
Record the yarn, hook, actual diameter and cord drop after making a sample. Photograph the exact six-petal construction before claiming an image is a step-by-step record. Written count checks do not establish physical durability, finished dimensions or stitch-for-stitch correspondence with illustrative images.
More Crochet Projects & Guides
When you are ready for another project, explore this crochet maple leaf pattern and keep building your seasonal crochet collection one clear project at a time.