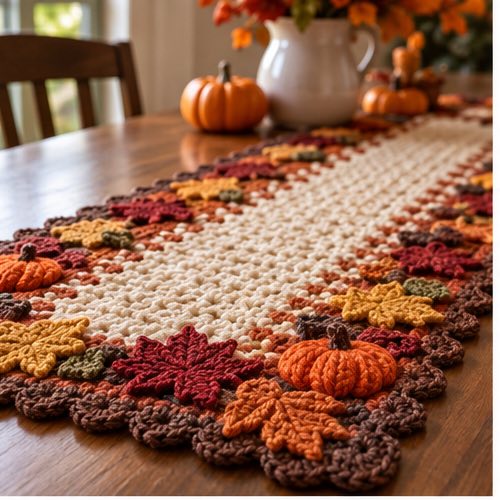
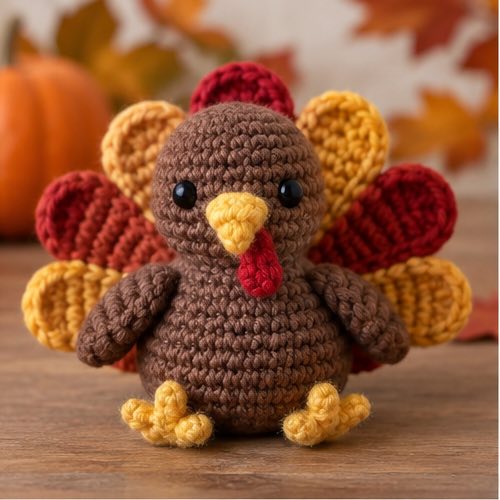
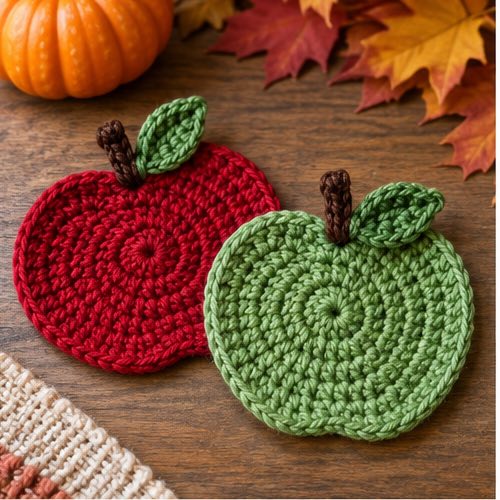
A crochet pumpkin garland brings a warm autumn line across a mantel, window, or party table. Each pumpkin is small, so the project works well with yarn leftovers.
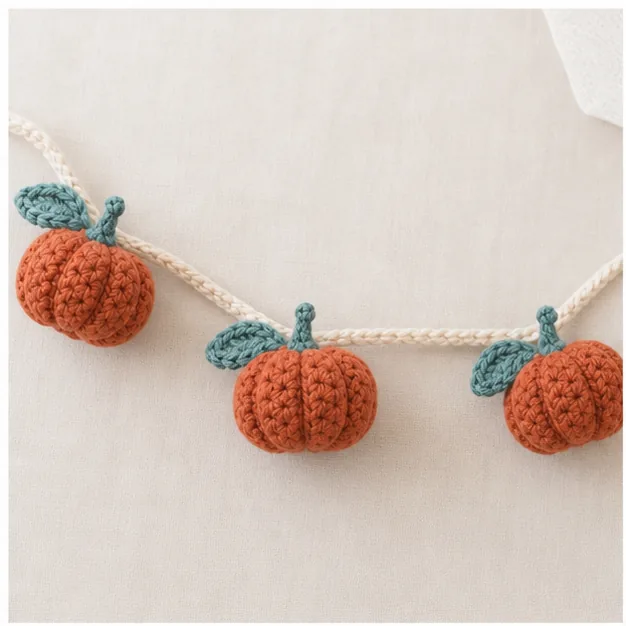
Make the motifs first, arrange them in a balanced order, and attach them to one foundation chain for an easy seasonal display.
You can also explore Fall Crochet.
Project at a Glance
| Skill level | Beginner-friendly |
|---|---|
| Crochet terms | US terms |
| Construction | motifs joined into a display |
| Yarn and hook | Use the weight and hook stated in the pattern directions |
| Main stitch | See the project instructions below |
| Gauge and finished size | Use the stated measurement checks before finishing |
| Finishing | Secure ends, reinforce seams, and add optional lining or reinforcement where useful |
Materials and Gauge
For a useful materials reference, visit Fall Crochet Patterns: Cozy Projects and Autumn Decorations.
Gather all yarn, hook, needle, scissors, and optional finishing supplies before you begin. Make a small gauge sample when the project needs a precise fit or a firm fabric. Measure after the sample has relaxed, then adjust hook size before committing to the full project.
Abbreviations and Notes
Ch = chain; sl st = slip stitch; sc = single crochet; hdc = half double crochet; dc = double crochet; inc = two stitches in one stitch; dec or sc2tog = decrease; st/sts = stitch/stitches. Unless a direction says otherwise, the turning chain does not count as a stitch. Keep a marker in the first stitch of each spiral round and write down completed rows.
Crochet the Main Project
Before continuing, you may also like Crochet Pumpkin Pattern: Easy Fall Decoration.
A crochet pumpkin garland is an easy way to bring a handmade autumn accent to a mantel, shelf, doorway, or party table. The best part is that each pumpkin is made separately, so you can work at your own pace and stop when the garland is the right length for your space. This guide uses tiny ribbed pumpkins attached to a simple yarn chain or sturdy twine. It is beginner friendly because each motif is small and the assembly is easy to adjust before you commit.
Plan the length and supplies
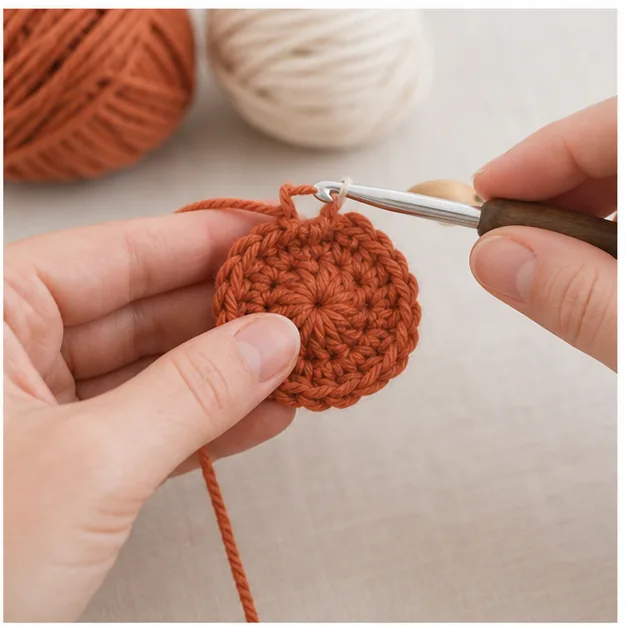
For a 5-foot garland, make 7 to 9 mini pumpkins and leave 4 to 6 inches between them. You will need sport- or DK-weight yarn in orange, cream, rust, or gold; green or brown yarn for stems; a 3.5 mm to 4 mm hook; yarn needle; scissors; a small amount of fiberfill; and either twine or matching yarn for the base. The pumpkin size changes with your yarn and hook, so make one test motif before deciding how many you need.
How to read the pumpkin motif
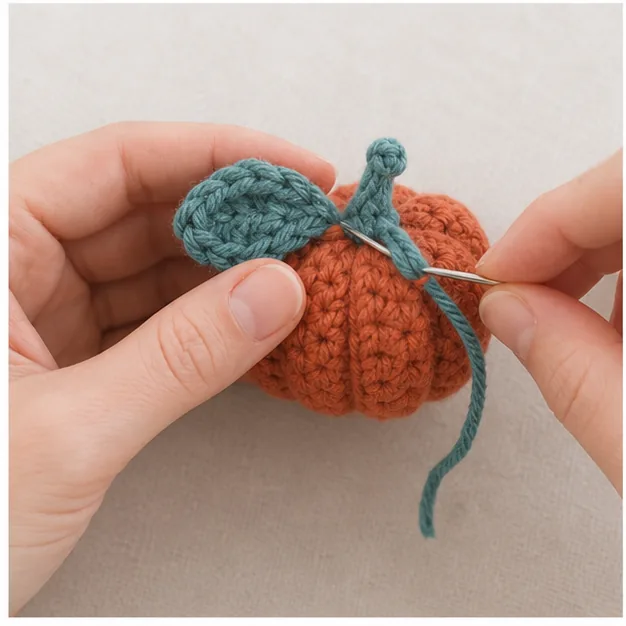
Each pumpkin begins as a rectangle worked in rows. At the end of a row, chain 1 and turn; the chain 1 does not count as a stitch. Each V along the top edge is one stitch, while the loop on your hook is not. Most rows use BLO, which means you work through the loop farthest from you. The raised ridges from BLO become the pumpkin ribs after the rectangle is seamed and gathered.
Crochet abbreviations
- ch = chain
- sc = single crochet
- st(s) = stitch or stitches
- BLO = back loop only
- sl st = slip stitch
- FO = fasten off
Make one mini pumpkin
Foundation chain: Ch 16.
Row 1: Sc in the second ch from hook and in each remaining ch across. Ch 1 and turn. (15 sts)
Rows 2–22: BLO sc in each st across. Ch 1 and turn after every row. Repeat for 21 additional rows. (15 sts in each row)
Seam: Fold the rectangle so the short edges meet. Sl st or whip stitch through the short edges to make a tube. Leave a long tail.
Gather: Weave the tail around one open edge and pull closed. Turn right side out, add a small pinch of fiberfill, then gather the second opening. Wrap a separate length of yarn around the outside four times to create ribs. Tie below the pumpkin and weave in the ends.
Stem: Ch 5 with green or brown yarn. Sc in the second ch from hook and in the next 3 chains. (4 sts) FO and sew to the top center. Make 7 to 9 pumpkins, keeping the same dimensions if you want a tidy garland.
Assemble the garland
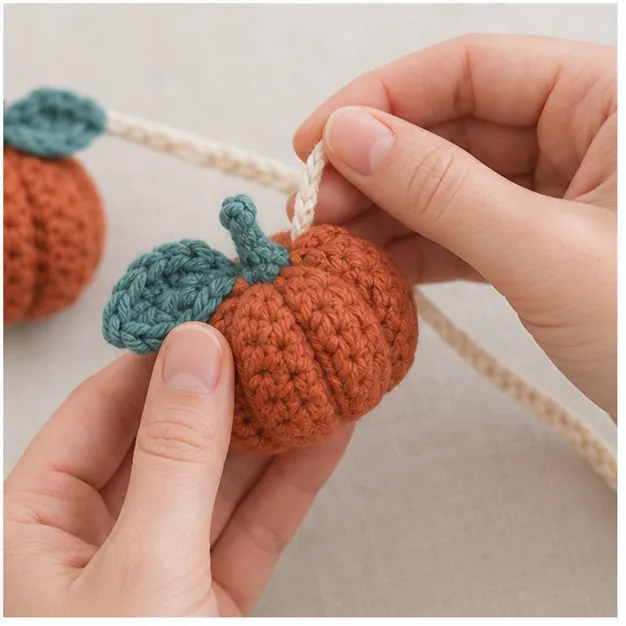
Lay the finished pumpkins in a row before attaching them. Alternate colors or use one color for a calm, coordinated look. If using twine, thread a yarn needle with the pumpkin tail and sew through the top center of the pumpkin, then around the twine two or three times. If using a crochet chain, make a chain about 10 inches longer than your intended garland so you have loops for hanging at both ends.
Space the pumpkins evenly. Checkpoint: hold the garland up after attaching the first three motifs. If the base sags, reduce the space between pumpkins or use sturdier twine. If a pumpkin turns sideways, add one more small stitch around the base so it faces forward.
Customization ideas
Add small crochet leaves between the pumpkins, or alternate pumpkins with acorns for a more natural look. For a Halloween version, use orange pumpkins with black yarn stems. For a neutral farmhouse style, use cream, sage, and brown. You can also leave out the fiberfill and make flat pumpkins for a lighter garland that is easy to mail or store.
Beginner tips and FAQs
Make one complete pumpkin before starting the rest. This lets you check your preferred stuffing amount and yarn-wrap tension. Count every row; a missing edge stitch changes the rectangle and makes the gathered pumpkin lopsided. Weave in tails as you work so the final assembly is quick and calm.
Can I hang this outdoors?
Use it only in a dry, covered area. Most yarn will fade or absorb moisture outside.
How do I store the garland?
Fold it loosely into a clean, dry box. Avoid wrapping it tightly around cardboard because that can flatten the pumpkins.
For more ideas, browse the fall crochet pattern collection and use the mini crochet pumpkin project as a quick practice motif before you make the full garland.
Finishing and display guidance
When the garland is the right length, tie a small loop at both ends of the base so it can hang from removable hooks. Test the garland in its intended location before trimming any yarn tails. A mantel may need a slightly deeper curve than a narrow shelf, while a doorway may need more space between motifs so they remain visible. If you want to reuse the garland for several years, label a storage box with the yarn colors and hook size. That makes it easy to add matching pumpkins later.
Dust the pumpkins gently with a clean dry cloth. Avoid placing the garland directly against an open flame or a heat source. A simple handmade decoration lasts longest when it stays clean, dry, and loosely stored between seasons.
Check your spacing before the final knots
Lay the garland on the floor or a large table and measure the spaces between the pumpkins with a ruler. Even gaps make a simple handmade garland look deliberate. Make any adjustment before you tie the end loops. This is also the right time to turn each pumpkin front-facing and tuck all remaining yarn tails inside.
Customize Your Project
For another seasonal idea, explore Mini Crochet Pumpkin: Quick Fall Project.
Change colors, edging, or small details only after you have completed one version at the stated gauge. If you substitute yarn, make a new sample because a thicker fiber can change the finished dimensions, drape, and amount of yarn needed. For bags and items that carry weight, add a lining or reinforcement before regular use.
Troubleshooting
The shape or edge is uneven
Stop and recount the previous round or row. Most uneven edges come from a missed increase, an added turning-chain stitch, or inconsistent tension. Correct the last clearly wrong section rather than trying to hide it later.
The finished piece does not match the measurement
Compare your gauge sample with the stated check. A smaller hook makes a firmer, smaller fabric; a larger hook makes a looser, larger one. Keep the stitch counts unchanged unless the pattern specifically gives resizing instructions.
A seam or attachment feels loose
Use matching yarn and short back-and-forth stitches through the crochet fabric. Reinforce high-stress points with a second pass, then weave the tail in securely.
Quick Project Plan
| Step | Action |
|---|---|
| 1 | Prepare yarn, hook, tools, and a gauge sample. |
| 2 | Follow the directions, count regularly, and check measurements. |
| 3 | Finish, reinforce, weave in ends, and review the project. |
Check Before You Finish
Test any hanging loop, strap, seam, or closure with a gentle pull. Lay flat items on a table to confirm they do not curl; lightly stuff three-dimensional pieces to an even shape. Adjust length, placement, or reinforcement before trimming the final yarn tail.
More Crochet Projects and Guides
- fall crochet pattern collection
- mini crochet pumpkin project
Final Thoughts
A few careful counts and a clean finish will make this seasonal project last for years. Whether you keep the finished crochet pumpkin garland for your own home or make it as a gift, take a moment to check the size, seams, and woven-in ends before calling it complete. For more Fall Crochet inspiration and fresh project ideas, follow Crochet by Season on Pinterest and Facebook.