Design and review note: These original written instructions have been reviewed for stitch arithmetic and construction logic, but have not been physically crocheted or sample-tested. Measurements are planning estimates, not verified finished sizes. Existing images are illustrative, not a photographic record of this exact design. Make a sample and check the relevant fit, shape and attachments before use.
Original written design — unworked draft. These directions were written independently. Stitch arithmetic can be checked on paper, but no physical sample has been made. Dimensions and yarn needs are planning estimates, not verified results. Make and measure a sample before promising fit, appearance or durability. Existing illustrative pictures may not show this exact construction.
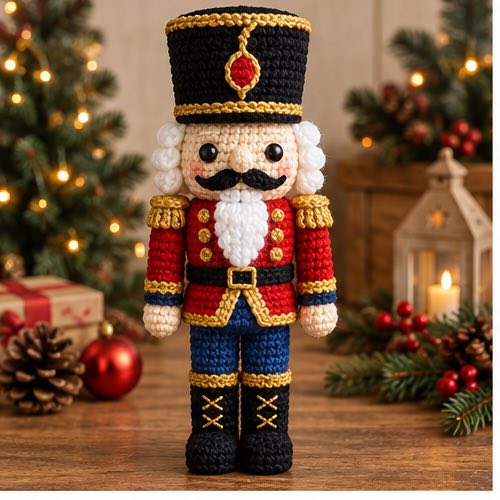
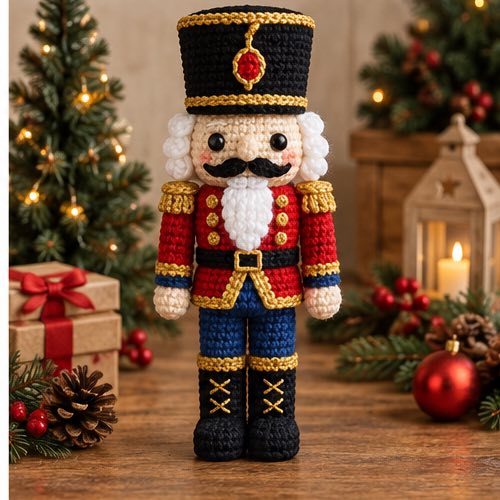
Make a simplified nutcracker-inspired decorative doll with two legs, a cylindrical uniform, a round head and a tall closed hat. This draft does not claim that the doll stands unsupported. It contains no working nut-cracking mechanism.
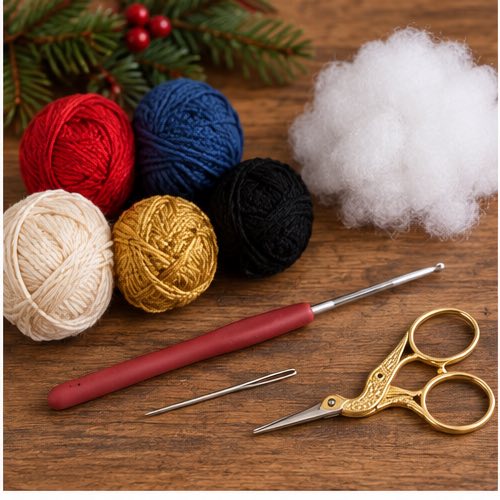
Materials and planning
Smooth worsted black, blue, red, cream and gold yarn; a little white for beard embroidery; polyester stuffing; 3.5 mm starting hook; needle and marker. A nominal tight gauge of 22 sc and 26 rows per 10 cm is a planning reference, not a verified stuffed-object gauge. Make a firm fabric with no stuffing gaps. Finished height and yarn quantity require a real sample. Use no wire, weights, plastic eyes or hard inserts.
US terms and counting rules
ch = chain; sc = single crochet; sl st = slip stitch; st/sts = stitch/stitches; inc = 2 sc in one stitch; dec = sc two stitches together. For a dec, insert through the next stitch, pull up a loop, repeat in the following stitch, yarn over and draw through all three loops. It consumes two stitches and makes one. Work both loops unless stated. For flat rows, ch 1 and turn before the next row; that chain never counts. Work the first sc into the first real stitch. In continuous rounds, do not join or turn; mark the first stitch and move the marker each round. Repeat counts exclude finishing slip stitches.
Body, bottom to neck
Begin in blue; use continuous rounds.
| Row or round | Direction | End count |
|---|---|---|
| 1 | 6 sc in adjustable ring. | 6 |
| 2 | Inc six times. | 12 |
| 3 | (Sc, inc) six times. | 18 |
| 4 | (2 sc, inc) six times. | 24 |
| 5 | Sc in back loops only. | 24 |
| 6–7 | Sc around. | 24 each |
| 8–13, red | Change on final pull-through of round 7; sc around for six rounds. | 24 each |
| 14 | (Sc, dec) eight times. | 16 |
| 15 | (2 sc, dec) four times. | 12 |
Stuff through the neck opening. Leave 12 stitches open.
Head
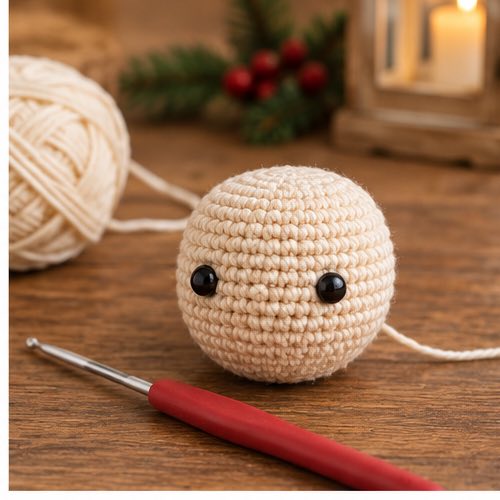
In cream: round 1, 6 sc in ring (6); round 2, inc six times (12); round 3, (sc,inc) six times (18); round 4, (2sc,inc) six times (24). Rounds 5–9: sc around (24 each). Round 10: (2sc,dec) six times (18). Round 11: (sc,dec) six times (12). Stuff and leave the twelve-stitch opening open. Embroider two eyes about five stitches apart across rounds 6–7, a short mouth below, and flat white beard stitches below the mouth; keep stitches short and secure, with no loose beard strands. Sew the head opening one-to-one to the body's 12-stitch neck, using all twelve pairs.
Hat
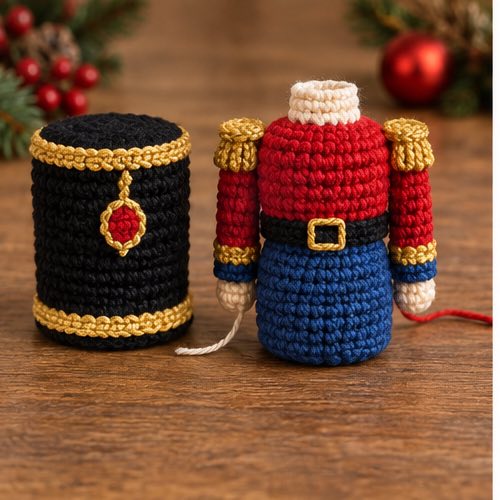
In black: round 1, 6 sc in ring (6); round 2, inc six times (12); round 3, (sc,inc) six times (18); round 4, (2sc,inc) six times (24); round 5, sc in back loops only (24); rounds 6–12, sc around (24 each). Fasten off leaving a sewing tail. The open 24-stitch lower edge fits around the head's 24-stitch widest section. Pin it around head round 5, keeping the face visible below; if the actual fit is poor, do not stretch the head to force it. Stuff the hat only lightly and sew its 24 edge stitches to 24 corresponding positions around the head. The closed ring end is the top.
Two legs and two arms
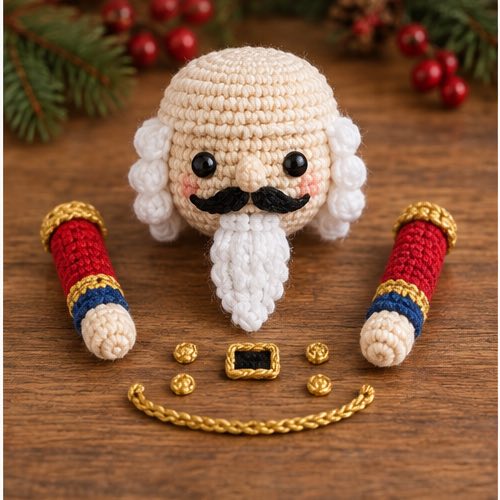
Legs: in black, round 1, 6 sc in ring (6). Rounds 2–3: 6 sc each. Change to blue for rounds 4–7: 6 sc each. Stuff lightly; flatten the six-stitch opening into three pairs and sew closed. Pin the closed ends side by side on the lower front of the body's base, with their three-stitch attachment widths separated by two body stitches. Sew both ends through several base stitches and confirm left/right symmetry before securing.
Arms: in cream, round 1, 6 sc in ring (6); round 2, 6 sc. Change to red for rounds 3–7: 6 sc each. Do not stuff. Flatten each opening into three pairs and sew closed. Sew to opposite body sides across rounds 11–13, level with each other. Embroider a flat gold line down the front of body rounds 9–12 as the uniform trim; do not attach buttons.
Checks and care
Head and neck both end at 12; head and hat rim each have 24. Both legs have seven rounds and both arms seven. Pin before sewing, especially the hat, because physical proportions have not been tested. Display supported; heavier stuffing does not establish standing stability. Decorative use only, away from babies, pets, flame and loose cords. Follow yarn-label cleaning instructions and inspect attachments.
Questions about this project
Does the hat have a separate brim?
No. This simplified design is a closed cylinder with an open lower rim sewn around the head; no unsupported brim instructions are implied.
Can it crack real nuts?
No. It is a soft decorative figure and contains no mechanism.
Why does my doll lean?
A tall hat changes balance. This unworked draft does not guarantee freestanding use; support it rather than adding untested weights or rigid inserts.
Before calling the pattern tested
Record the yarn brand, actual quantity, washed gauge and finished dimensions from a real sample. Check every seam and photograph these exact steps. Mathematical review is not a practical crochet test or product safety certification.
More Crochet Projects & Guides
When you are ready for another project, explore this crochet maple leaf pattern and keep building your seasonal crochet collection one clear project at a time.