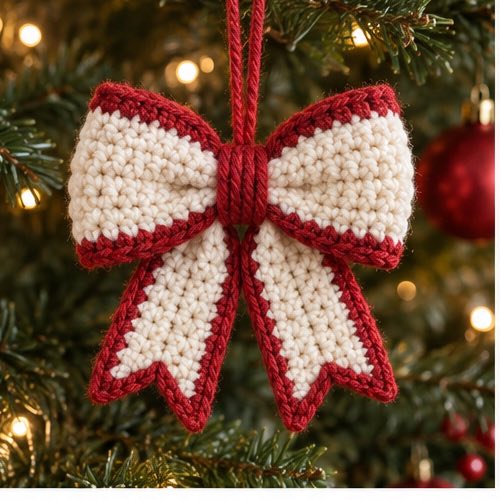
Pattern review note: This independently written design has passed two text-based reviews of its stitch counts and assembly geometry. It has not been physically crocheted or sample-tested. Sizes are calculated estimates, yarn usage is not measured, and actual results depend on your gauge and finishing. Existing images are illustrative and do not document a worked sample of these exact instructions.
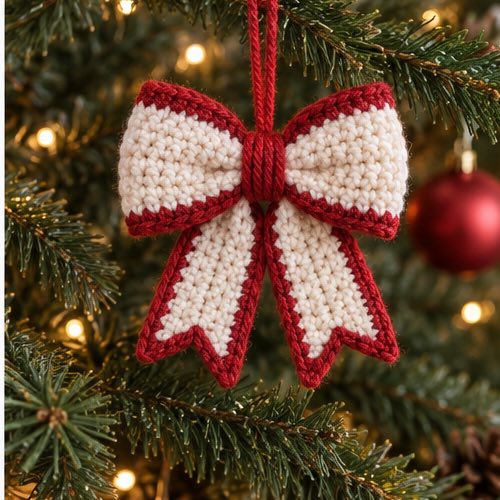
This small bow uses three single-crochet rectangles: a looped main panel, a narrow strip for two tails, and a band covering the gathered middle. The method avoids shaping increases or decreases. Use it as a decorative ornament or package accent, not as a toy or a weight-bearing attachment.
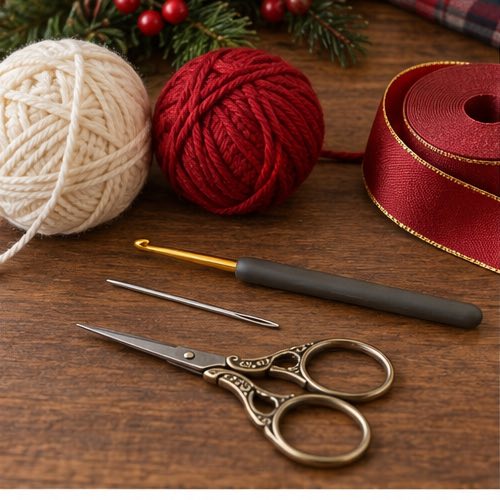
Materials and size planning
- Smooth worsted-weight cotton in one color, with a contrast color optional for the center band.
- A 4 mm hook as a starting point; change hook size to obtain the target fabric, rather than assuming the label guarantees gauge.
- Yarn needle, scissors, ruler and two removable markers.
- Yarn quantity has not been sample-measured. Have enough matching yarn for a swatch and all three panels before beginning.
Target gauge: 20 single crochet stitches and 24 rows per 10 cm, measured on a washed and dried flat swatch. Make a swatch larger than the measuring area and measure its center. If the measured count differs, the stated rectangles and resulting bow will differ in size. A firm but flexible fabric is preferable to a rigid fabric.
| Piece | Counts | Calculated flat size at target gauge |
|---|---|---|
| Main panel | 40 stitches × 12 rows | 20 × 5 cm |
| Tail strip | 24 stitches × 4 rows | 12 × approximately 1.7 cm |
| Center band | 12 stitches × 3 rows | 6 × approximately 1.25 cm |
Joining the main panel into a loop and flattening it gives a bow approximately 10 cm wide before gathering. Seam take-up, yarn thickness and gathering can change that measurement. Do not promise a fixed finished width without making and measuring a sample.
US terms and row rules
Proportion check: before gathering, the flattened loop is approximately 10 cm wide and 5 cm tall, a 2:1 width-to-height ratio. Each tail half is approximately 6 cm long before the center attachment takes up fabric. The 6 cm center-band length is a fitting allowance, not a calculated center circumference; adjust it around the actual gathered layers.
Adjusting for your measured gauge: if your swatch has S stitches and R rows per 10 cm, plan the main panel with approximately 2 × S stitches and R ÷ 2 rows; use an even stitch count so the midpoint can be marked precisely. Plan the tail strip with approximately 1.2 × S stitches and 0.167 × R rows, rounding the tail stitch count to an even number and the row count to a whole number. For the band, use approximately 0.125 × R rows for a 1.25 cm width, then fit its length around the actual gathered center. Adjusted stitch and row counts replace the fixed numbers throughout the instructions, midpoint marks, seam pair counts and final checks. Start each rectangle with one more chain than its stitch count. Check the resulting dimensions with a ruler before assembly. These calculations preserve approximate flat proportions, not a guaranteed finished silhouette.
- ch: chain.
- sc: single crochet.
- st/sts: stitch/stitches.
- Work through both top loops of each single crochet unless instructed otherwise.
- The ch 1 used before turning never counts as a stitch. Work the next sc into the first real sc, not into that chain.
- The foundation-row count is one fewer than the number of starting chains because the first sc goes into the second chain from the hook.
1. Crochet the main rectangle
Foundation: ch 41.
Row 1: sc in the second chain from the hook and in each remaining chain. Count 40 sc. Mark the first and last stitches if they are difficult to see.
Rows 2–12: ch 1, turn, sc in the first sc and in each sc across. Every row has 40 sc. After row 12, fasten off leaving a sewing tail approximately 20–25 cm long for joining and weaving in.
Lay the panel flat. Its long edges are the foundation and final rows, each 40 stitches long. Its two short edges consist of the ends of the 12 rows. Mark the midpoint of one long edge, between stitches 20 and 21. This mark helps you make equal loops.
2. Join the loop and gather its middle
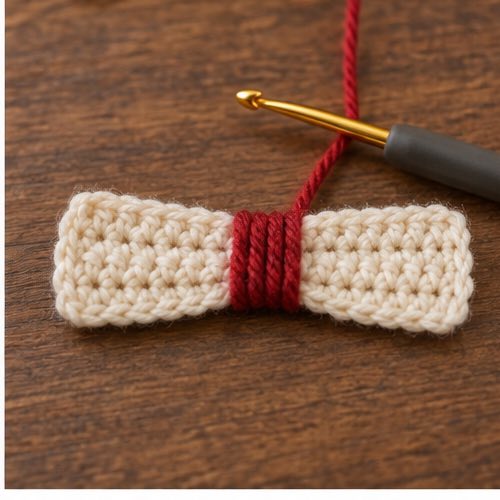
Bring the two short row-end edges together without twisting the rectangle. Match the end of row 1 on one side with the end of row 1 on the other; continue through row 12. Whipstitch through each paired row end: 12 matched pairs in total. Use an even seam tension. Do not join the two 40-stitch long edges.
You now have a fabric loop approximately 20 cm around and 5 cm tall. Arrange it with the seam at center back and the marked midpoint at center front, directly opposite the seam. Flatten the loop so the two halves extend equally left and right. The seam should run vertically at the back.
Pinch the upper and lower long edges together at this midpoint to form the bow's center. With a separate length of yarn, wrap around the gathered center about six times. The wraps should hold the folds without cutting into the fabric. Check the left and right loops before securing the wrapping yarn through several structural folds at the back. Weave in its ends.
3. Make and attach the tails
Foundation: ch 25.
Row 1: sc in the second chain from the hook and each chain across: 24 sc.
Rows 2–4: ch 1, turn, sc across: 24 sc each row. Fasten off leaving a sewing tail.
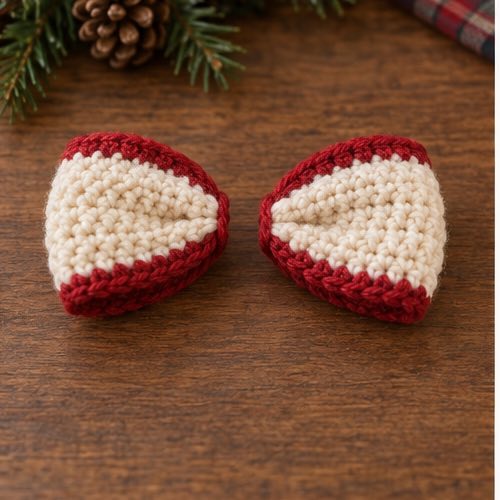
Find the strip's midpoint between stitches 12 and 13. Position this midpoint against the back of the gathered bow. Bend the strip into an inverted V, so its two approximately 6 cm halves point downwards separately. Tack the midpoint through the bow's structural gathers; do not rely on the decorative center band to hold the tails. Adjust the angle until both tails are visible and balanced.
4. Add the center band
Foundation: ch 13.
Row 1: sc in the second chain from the hook and each remaining chain: 12 sc.
Rows 2–3: ch 1, turn, sc across: 12 sc each row. Leave the final loop temporarily secured while checking the fit.
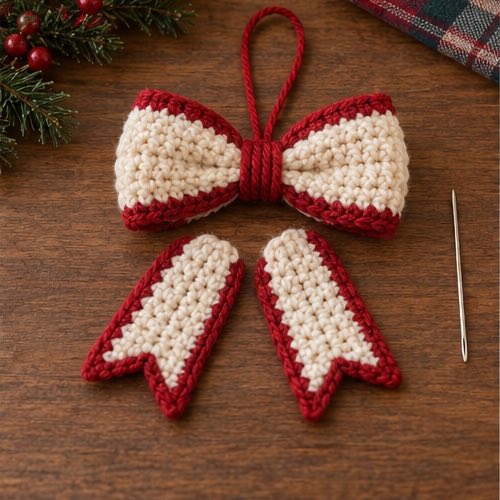
Wrap the band's approximately 6 cm length around the gathered center and the attached tail midpoint. Its approximately 1.25 cm width covers the wrapping yarn. The short ends should overlap slightly at the back without crushing the bow. If there is excessive overlap, remake the band with fewer starting chains; if it cannot comfortably meet, remake the band with additional starting chains. The stitch count remains one fewer than the starting chain count, and the band remains three rows tall.
Fasten off with a sewing tail after checking the fit. Sew the overlap closed at the back, catching enough of the gathered center to prevent the band rotating. Keep the sewing hidden from the front.
5. Add a decorative hanging loop
With matching yarn, ch 25 and fasten off, leaving long tails at both ends. This is a chain count, not a guaranteed loop length: chain gauge differs from single-crochet gauge. Check that the doubled loop is suitable for your intended display position before attachment.
Position both ends at the upper back of the bow's center. Anchor each end separately through several structural folds, not just through the cosmetic center band. Weave each tail back and forth securely. Lift the ornament gently by the loop to check its balance. This is not a load test or a safety certification.
Troubleshooting and final checks
- One loop is larger: reposition the center-front midpoint opposite the center-back seam before tightening the wrapping.
- The rectangle tapers: recount 40 sc in each main row; the turning chain is not an additional stitch.
- The band looks bulky: reduce the band length rather than pulling excess overlap tightly around the bow.
- The tails slide: sew their midpoint into the structural gathers before replacing the band.
- The ornament tilts: check both hanger anchors are centered and the left and right loops are symmetrical.
Final count check: main panel 12 rows of 40 sc; tail strip 4 rows of 24 sc; initial center band 3 rows of 12 sc, with any fit adjustment recorded. Check the short-edge seam, tail attachment and both loop anchors. Keep hanging cords and loose yarn away from babies and pets. Follow the yarn label for cleaning, reshape and dry flat.
Sampling and review status
Text-based checks cover arithmetic and the described assembly only. To verify the finished result, a maker needs to crochet a sample, record the actual yarn amount and washed gauge, measure the finished bow, photograph these exact steps, and check the attachment under its intended decorative use.
Questions About This Bow
Can I leave off the tails?
Yes. Complete the gathered main loop, fit the band around that smaller bundle, and attach the hanger to the structural folds.
Why does my bow measure differently?
The flat dimensions depend on washed stitch and row gauge. Seaming and gathering take up additional fabric, so measure your own sample rather than treating the calculated width as guaranteed.
Does the band hold the bow together?
No. Secure the gathers and tail midpoint first. The band covers those attachments and is sewn in place to stop it rotating.
Final Thoughts
This crochet bow ornament leaves room for your own color choices, finishing details, and display ideas. Work patiently, count before every join, and enjoy the point when the yarn turns into something useful and personal. Save it to Pinterest for later, or follow Crochet by Season on Facebook for more seasonal ideas.
More Crochet Projects & Guides
When you are ready for another project, explore this crochet maple leaf pattern and keep building your seasonal crochet collection one clear project at a time.