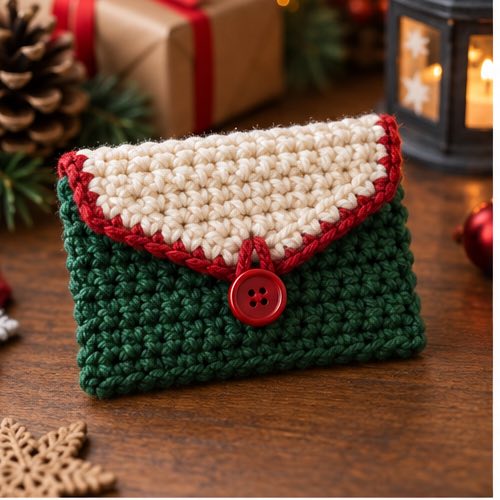
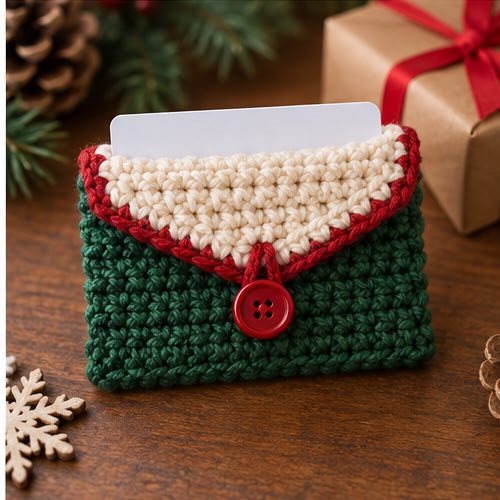
Design and review note: These original written instructions have been reviewed for stitch arithmetic and construction logic, but have not been physically crocheted or sample-tested. Measurements are planning estimates, not verified finished sizes. Existing images are illustrative, not a photographic record of this exact design. Make a sample and check the relevant fit, shape and attachments before use.
Original written design; not physically tested. This single-crochet gift card holder is made from one folded rectangle. Its counts and assembly have been checked on paper, but yarn use, final fit and durability require a crocheted sample. Measurements are calculated at the planning gauge, not measured from the illustrative photographs. This is a decorative gift pouch, not a secure wallet.
Materials and fit planning
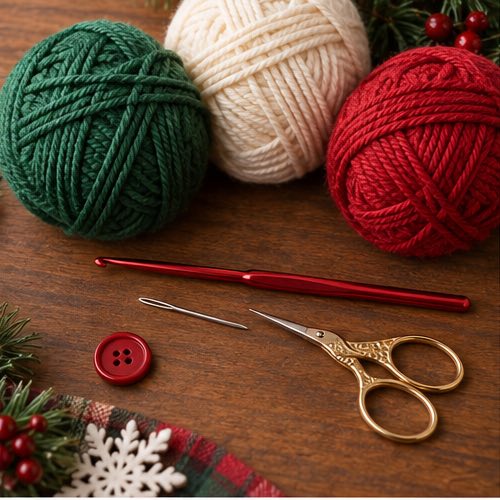
Use smooth worsted-weight cotton in a main color and optional contrasting sewing yarn, a 4 mm starting hook, yarn needle, scissors, ruler and the actual gift card. The hook is adjustable: choose the hook that produces a firm but flexible fabric. No sample-based yardage is available; keep matching yarn for a swatch and the complete rectangle. Avoid a button or bead: this version closes with a soft yarn tie.
US terms: ch = chain; sc = single crochet; st/sts = stitch/stitches. The turning ch 1 never counts as a stitch. Work through both top loops of each sc. Target planning gauge is 20 sc and 24 rows per 10 cm after washing and drying the swatch. Make a larger swatch and measure its center.
A typical payment-card-size gift card is approximately 8.56 by 5.4 cm, but measure yours. The example rectangle has 21 sc across and 28 rows: approximately 10.5 by 11.67 cm at gauge. Folding the rows in half gives a pouch approximately 10.5 cm wide and 5.83 cm deep before seam take-up. This is deliberately an approximate starting fit; if the card protrudes or the side seams squeeze it, alter the panel before finishing.
1. Crochet the rectangle
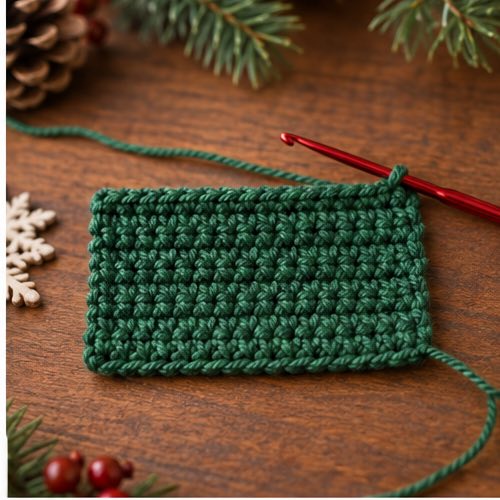
Foundation: ch 22. Row 1: sc in the second chain from the hook and every remaining chain: 21 sc. Rows 2–28: ch 1, turn, sc in all 21 sc. Keep 21 stitches in each row. After row 28, fasten off with a tail of at least 30 cm. Mark the ends of rows 14 and 15 to identify the fold. There are 588 sc in the panel, a count check rather than an additional instruction.
For another card or gauge, let S be washed stitches per 10 cm and R be rows per 10 cm. Choose a flat width approximately card width plus 1.5–2 cm; round width times S divided by 10 up to whole stitches, then start with one more chain. Choose folded depth approximately card height plus 0.5–1 cm; calculate twice that depth times R divided by 10 and round up to an even total row count. The even count permits equal front and back panels. These allowances are starting values, not a fit guarantee.
2. Fold and seam
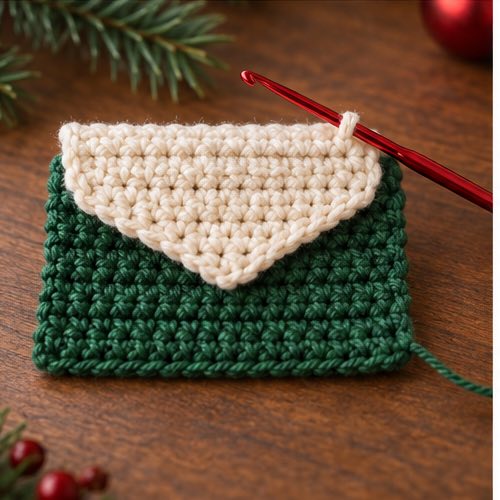
Fold between rows 14 and 15, bringing the foundation edge and final row together. Those two 21-stitch edges are the opening; leave them unsewn. The fold is the bottom. At each short side, align row ends in fourteen pairs: row 1 with row 28, row 2 with row 27, continuing to row 14 with row 15. Whipstitch through each corresponding pair once, making fourteen seam stitches on each side. Do not pull the seam tight enough to shorten the opening.
Before finishing the second side, slide the actual card inside. It should enter without bending and should sit below the opening. If it does not, undo the temporary seam, change the rectangle width or add an even number of rows, and refold. Do not force a card into an undersized pouch. With adjusted counts, use half the adjusted total rows as the number of paired side-seam positions.
3. Add a removable soft tie
With separate yarn, ch 60 and fasten off, leaving weaving tails. Chain length depends on your chain gauge: check that it can wrap around the filled pouch vertically and tie a small bow without tightening the fabric. Remake it longer if needed. Pass it around the pouch, not through the card, and tie above the opening. This closure is removable and is not theft-proof. Weave in all sewing ends securely.
Fit checks and troubleshooting
- If the opening is too narrow, increase the stitch count; adding rows only increases depth.
- If the card protrudes, add an even number of rows before folding; extra width will not increase depth.
- If the opening flares, recount the first and last real sc in every row and exclude the turning chain.
- If a seam puckers, loosen the sewing tension instead of stretching the card or fabric.
Questions About This Project
Can I make this for a nonstandard gift card?
Yes. Measure its width and height, use the gauge worksheet and check fit with a temporary seam. A folded panel must have an even number of rows.
Why is there no rigid button closure?
A removable yarn tie keeps this design simple and avoids introducing an untested buttonhole or small hard decoration. It is still a gift presentation pouch, not a secure card carrier.
Should I add lining?
Not without allowing extra space. Lining and seam allowances reduce the internal dimensions. Fit a paper or fabric mock-up first and recalculate the crochet panel around the lining.
Final Thoughts
Wash according to the yarn label, reshape flat and recheck fit after drying. Keep loose ties away from young children and pets. Before describing this as a tested pattern, make the sample, record yarn use, check the actual card fit and photograph these exact steps. The numerical instructions do not guarantee the appearance shown in illustrative images.
More Crochet Projects & Guides
When you are ready for another project, explore this crochet maple leaf pattern and keep building your seasonal crochet collection one clear project at a time.