Design and review note: These original written instructions have been reviewed for stitch arithmetic and construction logic, but have not been physically crocheted or sample-tested. Measurements are planning estimates, not verified finished sizes. Existing images are illustrative, not a photographic record of this exact design. Make a sample and check the relevant fit, shape and attachments before use.
Original written design — unworked draft. These directions were written independently. Stitch arithmetic can be checked on paper, but no physical sample has been made. Dimensions and yarn needs are planning estimates, not verified results. Make and measure a sample before promising fit, appearance or durability. Existing illustrative pictures may not show this exact construction.
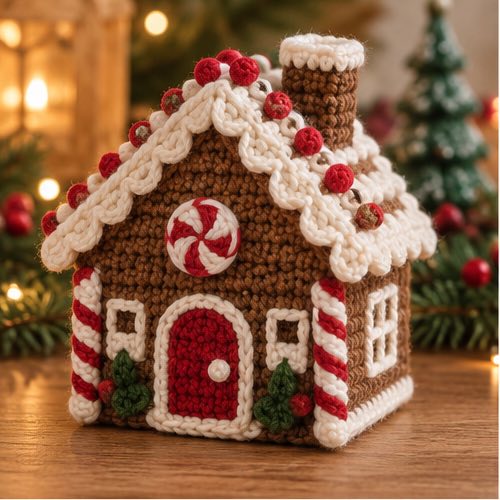
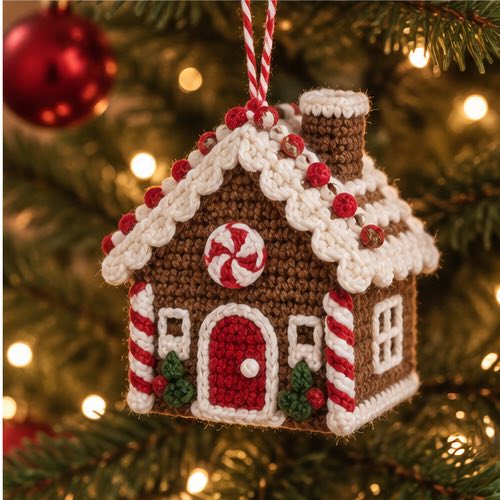
This original gingerbread house has a rectangular floor, continuous walls, two shaped gables and two separate roof panels. It is a soft three-dimensional decoration, not a working box or toy.
Materials and gauge planning
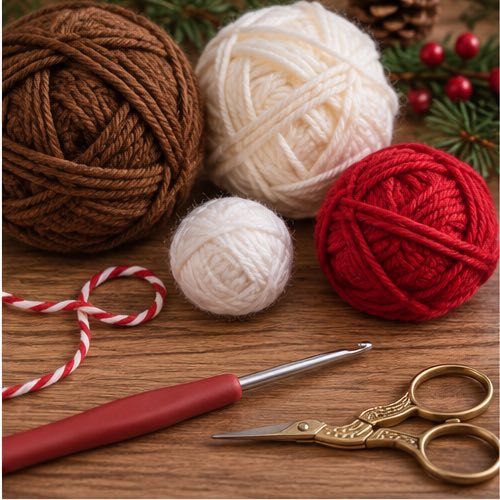
Use smooth worsted brown yarn, cream for roof and embroidery, small red and green scraps, polyester stuffing, a 3.5–4 mm starting hook, yarn needle, scissors and markers. Plan around 20 sc and 20 rows per 10 cm on a washed flat swatch; choose yarn and hook to approach a square stitch gauge. This gives a nominal 9 × 5 cm floor, 6 cm straight walls and roughly 5 cm gables. Dimensions, yarn quantity and roof fit have not been physically verified. Do not retain a guaranteed finished 5-inch claim without measuring a sample.
US terms and counting rules
ch = chain; sc = single crochet; sl st = slip stitch; st/sts = stitch/stitches; inc = 2 sc in one stitch; dec = sc two stitches together. For a dec, insert through the next stitch, pull up a loop, repeat in the following stitch, yarn over and draw through all three loops. It consumes two stitches and makes one. Work both loops unless stated. For flat rows, ch 1 and turn before the next row; that chain never counts. Work the first sc into the first real stitch. In continuous rounds, do not join or turn; mark the first stitch and move the marker each round. Repeat counts exclude finishing slip stitches.
Floor
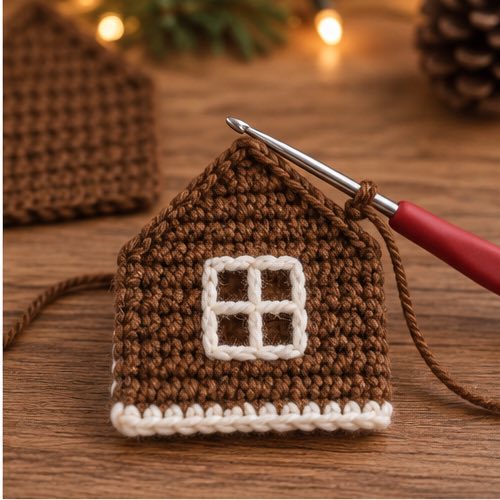
In brown ch 19. Row 1: sc from second chain across (18 sc). Rows 2–10: ch 1, turn, 18 sc. Do not fasten off. Mark four corners. The rectangle has an 18-stitch top edge, ten row ends on each side and eighteen foundation-chain positions underneath.
Continuous walls
Round 1: ch 1 and turn once to work back across floor row 10, then sc once in each of the 18 stitches of floor row 10; sc once in each of the ten row-end positions down the first side; sc once in each of the 18 unused underside foundation-chain positions; sc once in each of the ten row ends up the second side. Count 56 sc: 18 + 10 + 18 + 10. Do not add corner increases. Mark the start of each segment. Join with an uncounted sl st to the first sc. The side row ends and the top/foundation stitches are distinct anchors; do not count a corner twice.
Round 2: ch 1; sc in back loops only around all 56 stitches; join. Rounds 3–12: ch 1, sc through both loops in all 56 stitches; join after each round without turning. Every wall round has 56 sc; the turning chain and join are never stitches. The lack of increases turns the perimeter upward. Keep the four segment markers aligned vertically: the 18-stitch segments are the front and back walls, the ten-stitch segments the sides. Fasten off after round 12.
Two gables
Join brown at the first stitch of one 18-stitch front/back segment. Do not work across the ten-stitch side segments. Make the following flat rows; ch 1 and turn between rows.
| Row or round | Direction | End count |
|---|---|---|
| 1 | Sc in the eighteen front/back segment stitches. | 18 |
| 2 | Dec,14 sc,dec. | 16 |
| 3 | Dec,12 sc,dec. | 14 |
| 4 | Dec,10 sc,dec. | 12 |
| 5 | Dec,8 sc,dec. | 10 |
| 6 | Dec,6 sc,dec. | 8 |
| 7 | Dec,4 sc,dec. | 6 |
| 8 | Dec,2 sc,dec. | 4 |
| 9 | Dec twice. | 2 |
| 10 | Dec once. | 1 |
Fasten off. Repeat independently on the opposite 18-stitch wall segment. Both gables finish at one stitch. The side walls remain at round 12, not extended into gables. Each roof slope has ten corresponding gable row-end positions, numbered 1 at the eave to 10 at the peak.
Two roof rectangles
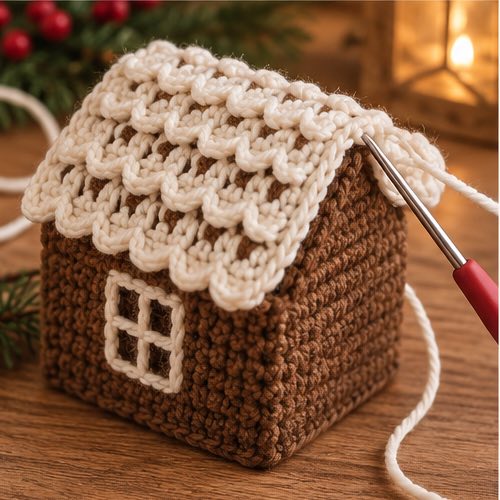
In cream, ch 15 for each roof panel. Row 1: sc from second chain across (14 sc). Rows 2–12: ch 1, turn, 14 sc. At the nominal gauge each roof piece is 7 cm from eave to ridge and 6 cm front to back. The two 14-stitch edges are the foundation and final rows; the two row-end edges have twelve positions each. Pin and measure all pieces before sewing: a paper count check does not prove diagonal roof fit.
Join one twelve-row-end edge of each roof to the other with twelve paired seam stitches, creating the ridge. Leave the opposite twelve-row-end edges as the eaves. Place the ridge front-to-back above both gable peaks; each 14-stitch roof end spans one gable slope.
Roof seam map and assembly
For each of the four sloping seams, number that roof end from 1 at its eave to 14 at its ridge, reversing the direction on the opposite panel as necessary. Leave roof stitches 1 and 14 outside the structural gable seam as small overhang allowances. Sew roof stitches 2–13 to gable row ends using this exact mapping: 2→1, 3→2, 4→3, 5→3, 6→4, 7→5, 8→6, 9→7, 10→8, 11→8, 12→9, 13→10. All twelve inner roof stitches are sewn; gable row ends 3 and 8 each receive two seam passes. Do not skip a roof stitch and leave a stuffing gap. Pin this easing map first: if the actual pieces pucker or fail to meet, stop and adjust the roof dimensions on the sample rather than forcing the seam.
Along each eave, align the middle ten roof row-end positions, 2–11, with the ten top stitches of the side wall, one-to-one. The first and last roof row ends extend beyond the side wall as front/back overhangs. Sew one eave completely and leave about four anchor pairs temporarily open on the other. Add light stuffing through that gap; do not distort the floor or stretch the roof. Finish all ten pairs and secure the overhang corners to adjacent roof stitches if needed. Inspect every joined edge for gaps.
Decoration and hanging loop
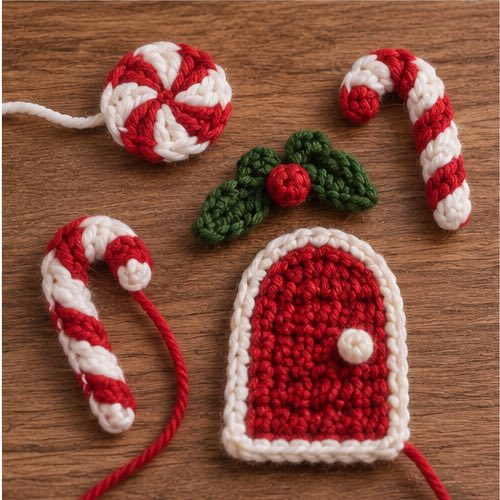
Before stuffing, embroider a flat doorway centered on the front wall and two small windows beside it using short cream stitches; add small red/green decorative stitches. Do not cut openings, glue parts, add beads or put cardboard inside. For an optional hanger, ch 24, fasten off and fold the actual cord to check length. Sew both ends separately through several ridge seam stitches and into both roof panels, not only into a one-stitch gable peak. Check balance gently; no load rating is established.
Troubleshooting and safety
Count 56 stitches in every wall round and 18 stitches in each gable foundation. If walls ripple or roof slopes do not fit, check actual gauge and pinning before sewing. A soft house may need display support; stuffing does not certify standing stability. Decorative use only, away from children, pets, flames and real candles. Secure cords and follow the yarn label for cleaning.
Questions about this project
Is this a flat ornament?
No. The 18-by-10 floor and continuous 56-stitch walls create real depth; both gables and roof pieces complete the three-dimensional shape.
Why do two gable row ends receive two seam passes?
The roof has twelve inner stitches along its diagonal end while each gable slope has ten row ends. The explicit easing map distributes the two extra roof anchors; actual fit still needs pinning and a sample.
Can I make the roof removable?
Not with this construction. Both eaves and all four slopes are sewn closed around light stuffing. A removable box lid needs a different structural design.
Before calling the pattern tested
Record the yarn brand, actual quantity, washed gauge and finished dimensions from a real sample. Check every seam and photograph these exact steps. Mathematical review is not a practical crochet test or product safety certification.
More Crochet Projects & Guides
When you are ready for another project, explore this crochet maple leaf pattern and keep building your seasonal crochet collection one clear project at a time.