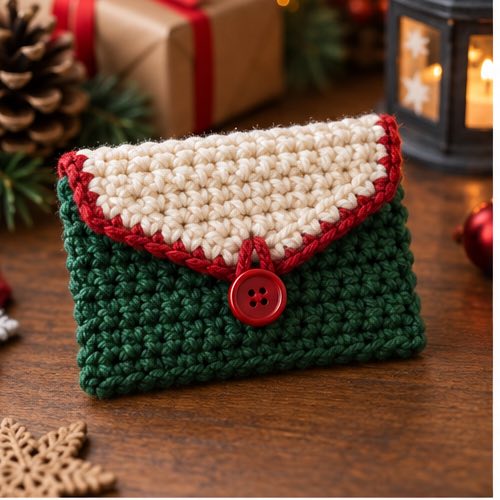
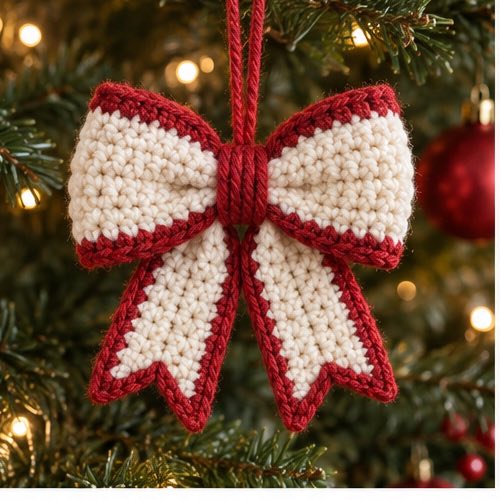
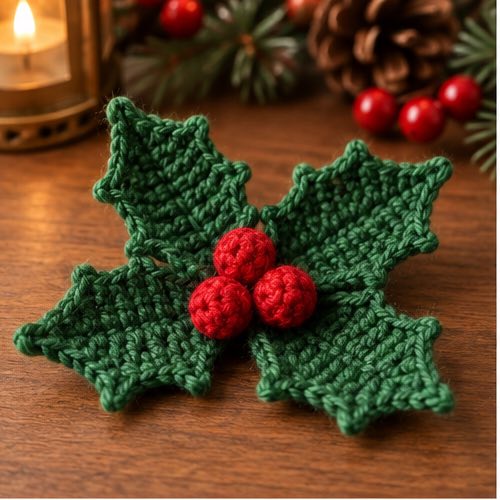
This mini crochet Christmas stocking is a traditional holiday shape in a compact, giftable size. It can hold a tiny treat, decorate a tree, or become part of a mantel display.
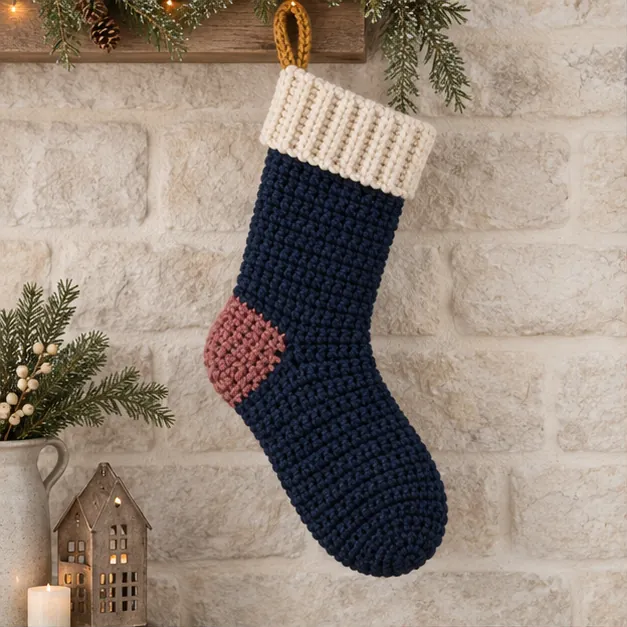
You will work the cuff, leg, heel, and toe in sequence, using measurements to keep the stocking shape balanced.
You can also explore Christmas Crochet.
Project at a Glance
| Skill level | Beginner-friendly |
|---|---|
| Crochet terms | US terms |
| Construction | step-by-step crochet construction |
| Yarn and hook | Use the weight and hook stated in the pattern directions |
| Main stitch | See the project instructions below |
| Gauge and finished size | Use the stated measurement checks before finishing |
| Finishing | Secure ends, reinforce seams, and add optional lining or reinforcement where useful |
Materials and Gauge
For a useful materials reference, visit Christmas Crochet Patterns: Ornaments, Decor and Holiday Projects.
Gather all yarn, hook, needle, scissors, and optional finishing supplies before you begin. Make a small gauge sample when the project needs a precise fit or a firm fabric. Measure after the sample has relaxed, then adjust hook size before committing to the full project.
Abbreviations and Notes
Ch = chain; sl st = slip stitch; sc = single crochet; hdc = half double crochet; dc = double crochet; inc = two stitches in one stitch; dec or sc2tog = decrease; st/sts = stitch/stitches. Unless a direction says otherwise, the turning chain does not count as a stitch. Keep a marker in the first stitch of each spiral round and write down completed rows.
Crochet the Main Project
Before continuing, you may also like Crochet Christmas Ornaments: Easy Handmade Tree Decorations.
Beginner project guide
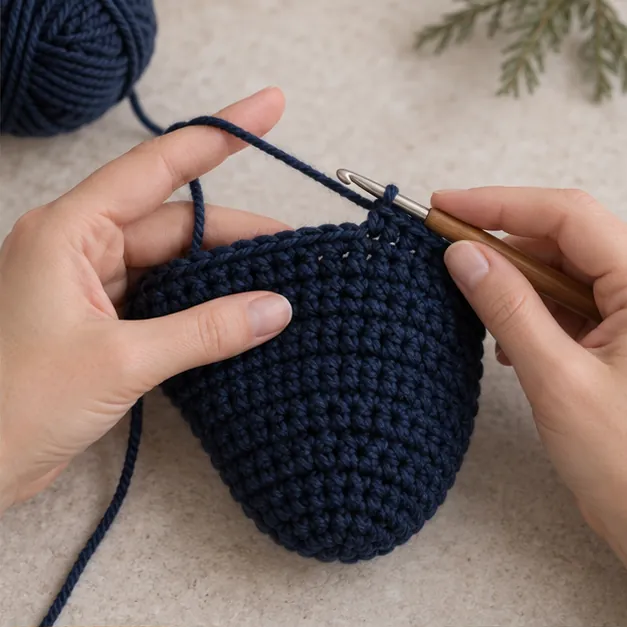
This mini stocking has a classic cuff, heel turn, and toe, but its small scale keeps the stitch counts comfortable for a beginner. Hang several across a mantel or use one as a gift-card holder.
Materials
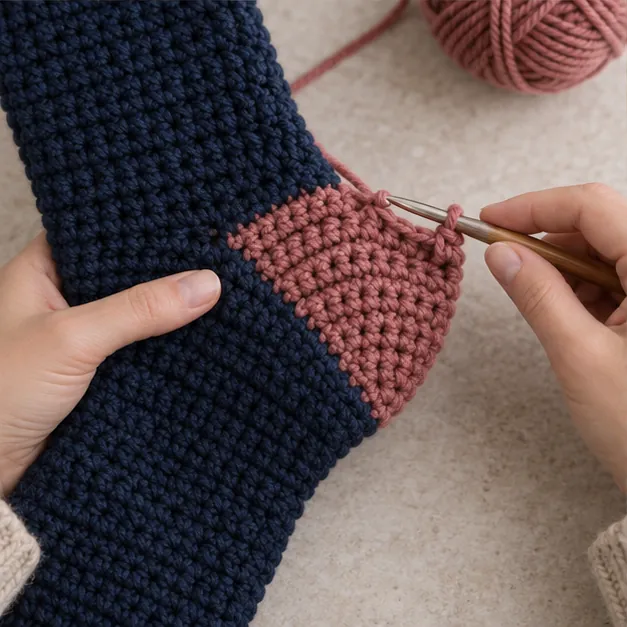
Red and white worsted yarn, 4 mm hook, needle, scissors, and optional hanging ribbon.
Abbreviations
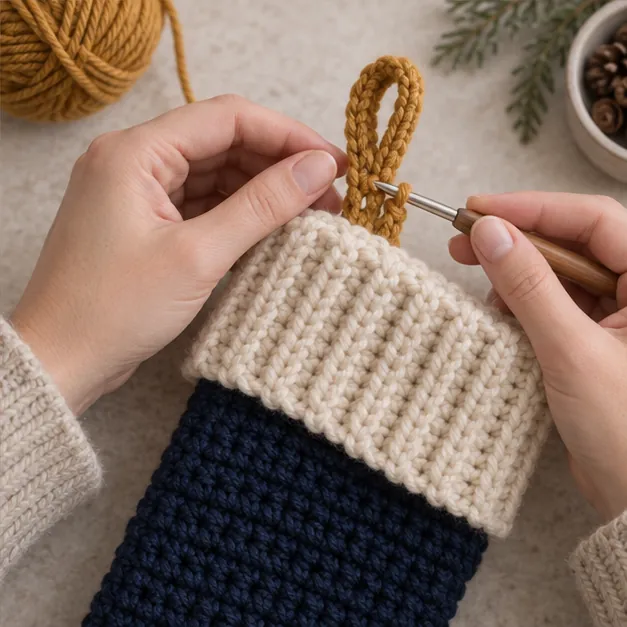
US terms are used: ch = chain, sl st = slip stitch, sc = single crochet, hdc = half double crochet, dc = double crochet, inc = two stitches in one stitch, dec = invisible decrease, st = stitch, and rnd = round. Place a marker in the first stitch of every spiral round. The turning chain is not counted unless stated. Stop after each round or row and count; correcting one extra stitch immediately is much easier than finding it after several sections.
Instructions
Chain 22 with red and join without twisting. Work 22 sc in joined rounds for 12 rounds. For the heel, work 11 sc, turn, and work 11 rows back and forth; fold this flap, sew its sides to form a heel cup, then resume working around the remaining opening. Continue 22 sc for 7 rounds, then decrease at both side points every other round until 12 stitches remain. Stuff the foot lightly and close. Add a white cuff: join white at the top, work 2 rounds of hdc, and fold outward.
Finishing
Weave every yarn tail through five nearby stitches on the wrong side, reverse direction, and trim only after it is secure. Use pins to position separate parts before sewing. Take small stitches through the crochet fabric rather than long surface stitches, and pull only until the parts meet; overly tight sewing dents stuffing and makes flat work curl. If the item is stuffed, add small pieces of fiberfill before the opening becomes narrow and move them into corners with the blunt end of the hook.
Technique notes
Keep the yarn feeding from the same direction and aim for matching stitches rather than pulling every stitch as tight as possible. For a clean color change, work the old-color stitch until two loops remain on the hook, then make the final yarn-over with the new color. This places the new color on top of the stitch. When a project needs blocking, mist it lightly, pin it to its intended measurements, and leave it until completely dry. This is especially helpful for motifs and squares.
Troubleshooting
If the fabric cups, the increases are too few or your tension is tight; if it ripples, an increase was added accidentally. Check the count named in each round before proceeding. A crooked seam usually means the parts were not pinned first. Undo only to the last certain stitch, put the live loop on the hook at once, recount, and resume calmly. This is faster than trying to hide a mistake later.
Use, care, and variations
Make a sample first, then repeat it in colors that suit your home or recipient. Write the yarn and hook size on a small note; this lets you reproduce the result later. Spot clean decorations when possible, follow the yarn label if washing is needed, dry flat, and store completed seasonal work in a dry box with tissue between dark and light yarns. Use the Christmas crochet patterns hub and the crochet gingerbread man pattern for a mantel set.
Final check
Before calling the project finished, confirm its final stitch count, test any loop or seam with a gentle tug, and make sure all ends are hidden. Photograph the result in daylight and note what you would change on the next one. Those small observations are how a beginner pattern becomes a dependable personal recipe.
Extra finishing guidance
Take a moment to compare the finished shape with the intended use. Flat pieces should lie smooth on a table or wall; if a corner lifts, re-wet and block it rather than pulling the yarn tight. A stuffed decoration should feel evenly filled, with no hard lump in the center and no empty edge. Add filling through a reopened stitch if necessary, then close the opening by weaving the tail through every front loop once before pulling it snug.
For a professional-looking color change, carry an unused color loosely along the wrong side only when it travels a few stitches. For a longer distance, fasten it off and join it again so it cannot show through the fabric. Check that joins sit where they will be least visible: in a corner, behind a seam, or at the back of an ornament. If a join loosens later, thread the tail back through several stitches instead of tying a bulky knot on the surface.
Make a small paper tag for gift items with the fiber content and basic care. Acrylic projects are usually durable and easy to spot clean; cotton holds shape and is excellent for coasters; wool may need gentle hand washing. Store each completed item flat or lightly stuffed with tissue. Avoid cramming pieces together, especially pale decorations next to dark yarn, because pressure can flatten texture and fibers can transfer lint.
When you make a second version, change only one variable at a time: hook size, color, or edging. That way you can see precisely what created a looser fabric or a different finished size. This simple habit builds confidence and gives you reliable results across your seasonal crochet projects.
Before display: give every seam, loop, and color join a gentle tug. If anything moves, reinforce it now with a short matching stitch. Lay the work flat overnight after blocking or stuffing so the yarn settles into its final shape. This is especially worthwhile for a gift, because it ensures the recipient sees the intended proportions as soon as it is unwrapped.
Customize Your Project
For another seasonal idea, explore Crochet Christmas Tree Pattern: Easy Holiday Decoration.
Change colors, edging, or small details only after you have completed one version at the stated gauge. If you substitute yarn, make a new sample because a thicker fiber can change the finished dimensions, drape, and amount of yarn needed. For bags and items that carry weight, add a lining or reinforcement before regular use.
Troubleshooting
The shape or edge is uneven
Stop and recount the previous round or row. Most uneven edges come from a missed increase, an added turning-chain stitch, or inconsistent tension. Correct the last clearly wrong section rather than trying to hide it later.
The finished piece does not match the measurement
Compare your gauge sample with the stated check. A smaller hook makes a firmer, smaller fabric; a larger hook makes a looser, larger one. Keep the stitch counts unchanged unless the pattern specifically gives resizing instructions.
A seam or attachment feels loose
Use matching yarn and short back-and-forth stitches through the crochet fabric. Reinforce high-stress points with a second pass, then weave the tail in securely.
Quick Project Plan
| Step | Action |
|---|---|
| 1 | Prepare yarn, hook, tools, and a gauge sample. |
| 2 | Follow the directions, count regularly, and check measurements. |
| 3 | Finish, reinforce, weave in ends, and review the project. |
Check Before You Finish
Test any hanging loop, strap, seam, or closure with a gentle pull. Lay flat items on a table to confirm they do not curl; lightly stuff three-dimensional pieces to an even shape. Adjust length, placement, or reinforcement before trimming the final yarn tail.
More Crochet Projects and Guides
- Christmas crochet patterns hub
- crochet gingerbread man pattern
Final Thoughts
This is a satisfying project to make slowly, with enough structure for a confident beginner. Whether you keep the finished crochet christmas stocking pattern for your own home or make it as a gift, take a moment to check the size, seams, and woven-in ends before calling it complete. For more Christmas Crochet inspiration and fresh project ideas, follow Crochet by Season on Pinterest and Facebook.