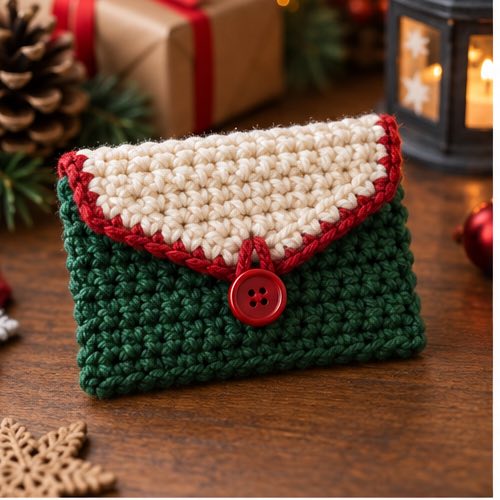
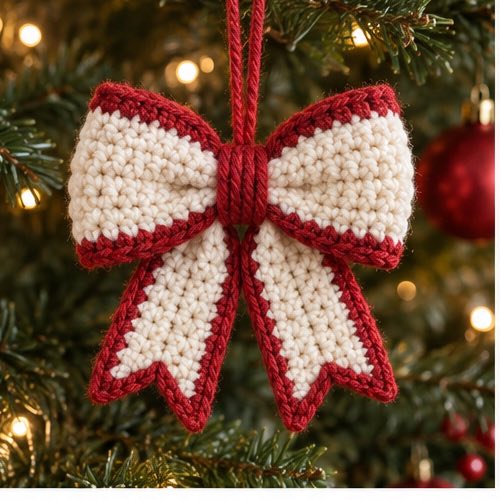
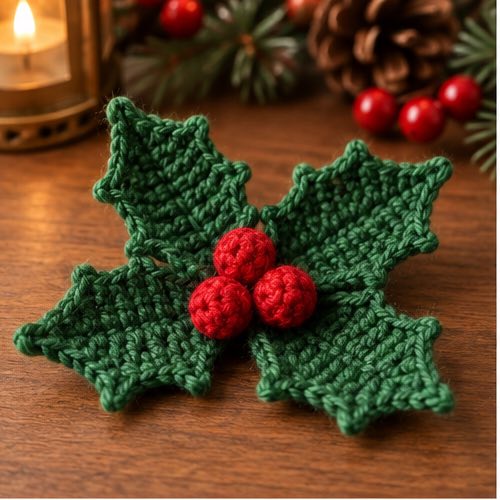
Christmas crochet adds handmade warmth to a tree, mantel, or wrapped gift. This collection brings together decorations and small projects that are satisfying to make in a busy season.
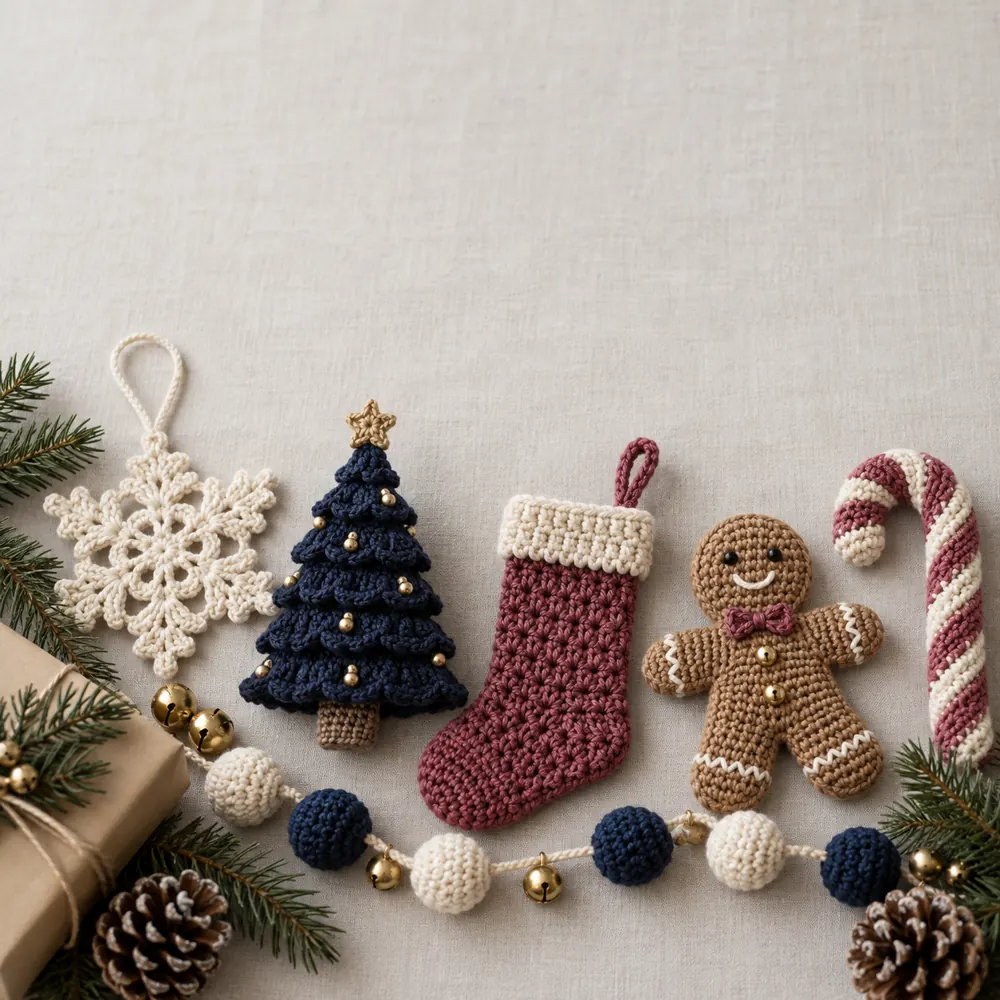
Start with a quick ornament or motif, then repeat it in coordinating colors for a complete holiday set. The projects rely on clear counts and simple assembly.
You can also explore Christmas Crochet.
Project at a Glance
| Skill level | Beginner-friendly |
|---|---|
| Crochet terms | US terms |
| Construction | step-by-step crochet construction |
| Yarn and hook | Use the weight and hook stated in the pattern directions |
| Main stitch | See the project instructions below |
| Gauge and finished size | Use the stated measurement checks before finishing |
| Finishing | Secure ends, reinforce seams, and add optional lining or reinforcement where useful |
Materials and Gauge
For a useful materials reference, visit Crochet by Season home.
Gather all yarn, hook, needle, scissors, and optional finishing supplies before you begin. Make a small gauge sample when the project needs a precise fit or a firm fabric. Measure after the sample has relaxed, then adjust hook size before committing to the full project.
Abbreviations and Notes
Ch = chain; sl st = slip stitch; sc = single crochet; hdc = half double crochet; dc = double crochet; inc = two stitches in one stitch; dec or sc2tog = decrease; st/sts = stitch/stitches. Unless a direction says otherwise, the turning chain does not count as a stitch. Keep a marker in the first stitch of each spiral round and write down completed rows.
Crochet the Main Project
Before continuing, you may also like crochet FAQs.
Christmas crochet patterns bring a handmade warmth to holiday decorating and gift giving. This collection is built around approachable ornaments, small amigurumi, mantel accents, and festive details that can be made one at a time or as a coordinated set. Crochet is especially useful during the holiday season because even a small project can feel meaningful: a tree ornament, a garland motif, or a stocking-shaped gift-card holder becomes part of a tradition that can be used year after year.
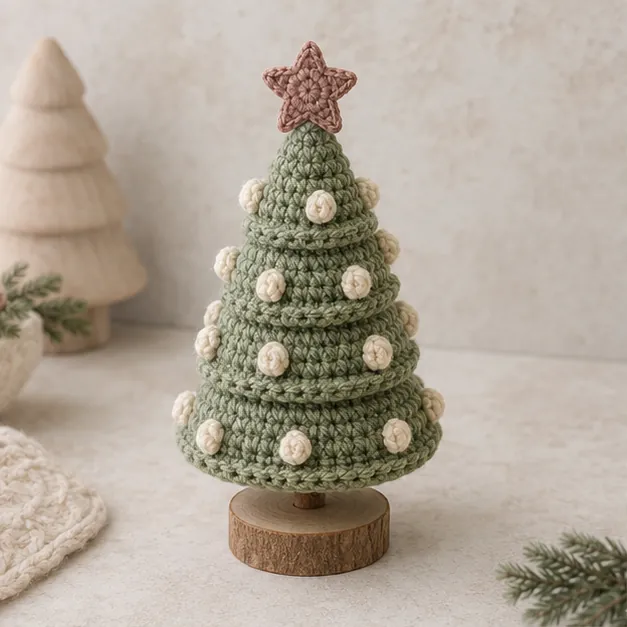
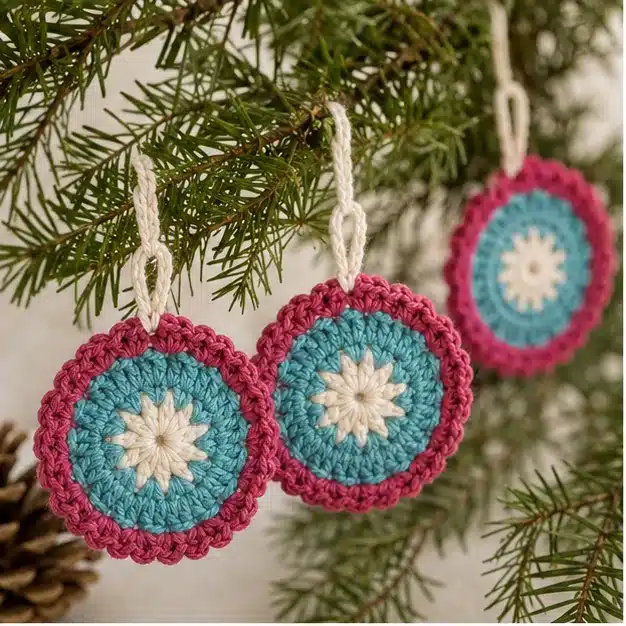
Start with the project’s purpose
Before choosing yarn, decide whether you are making something to hang, display, wrap, or give. A tree ornament should be light and have a secure loop. A table decoration should stand or lie flat without tipping or curling. A small amigurumi should have tight stitches so stuffing stays inside. A handmade gift should be useful, washable when possible, and finished neatly enough to feel special.
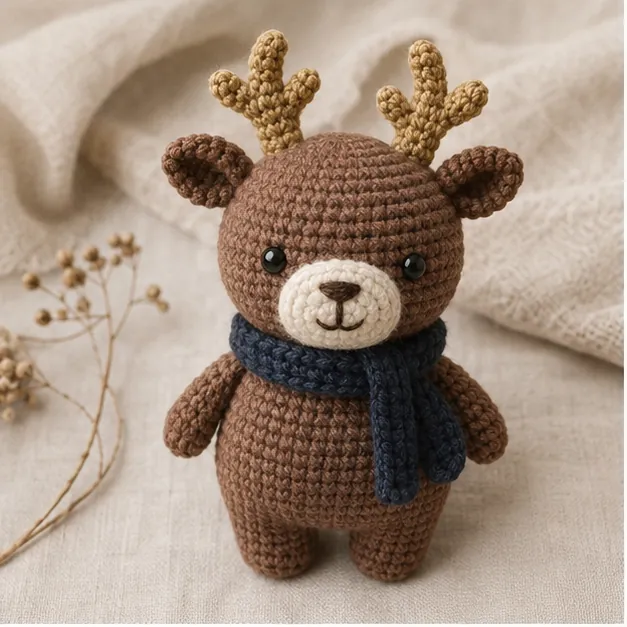
This simple planning step helps a beginner avoid frustration. A delicate snowflake can use fine yarn and a small hook because it needs to be light. A stocking or pillow needs a sturdier yarn and a larger hook. If you are working to a deadline, begin with a repeatable small item such as an ornament, coaster, candy cane, or garland motif. Repetition helps your hands learn the rhythm of the stitches.
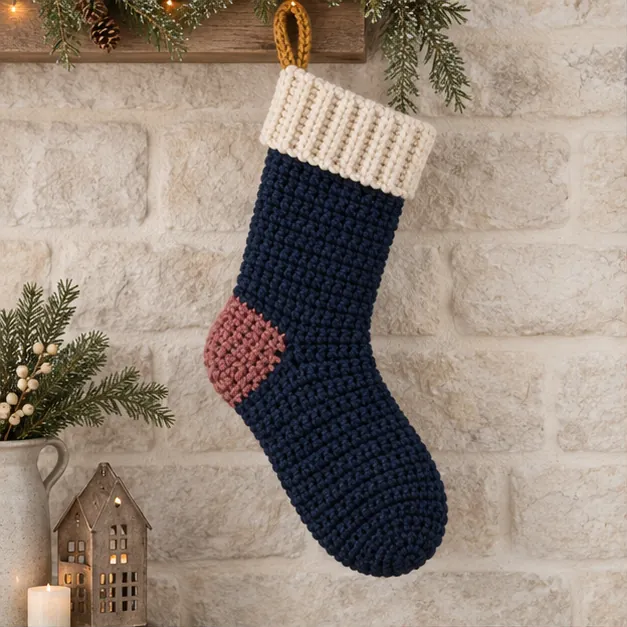
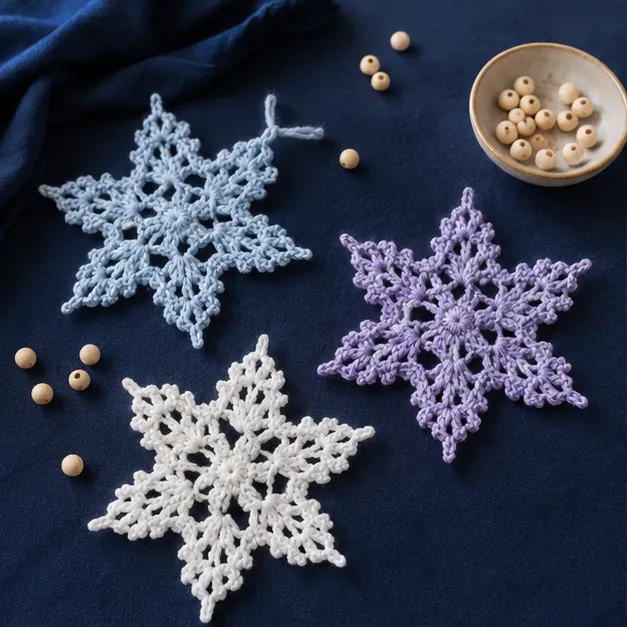
A classic holiday yarn palette
Red, green, cream, and white are a natural starting point, but you do not need to use all of them. Choose two main colors and one accent for a clean, coordinated look. Forest green and cream look traditional and calm. Red with white feels cheerful and works beautifully for candy canes and Santa details. Brown, gingerbread, and soft white make a warm neutral palette for a cozy home.
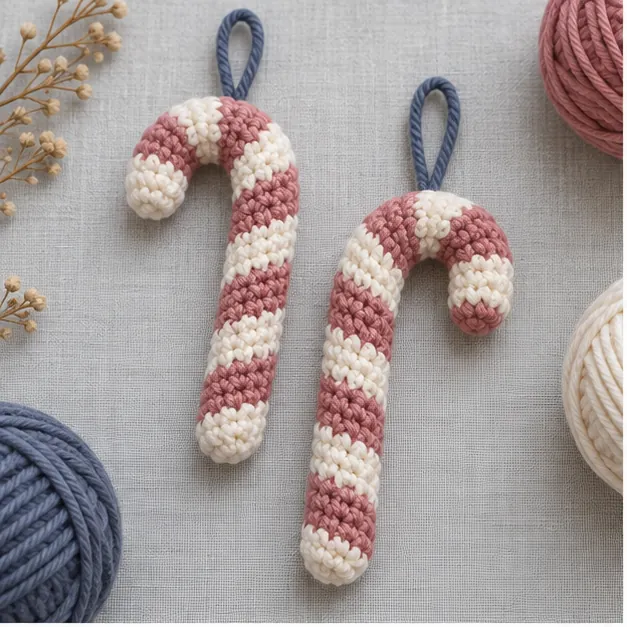
Metallic yarn can add a little sparkle to ornaments, but use it in small amounts because it can be stiff to crochet with. A smooth DK or worsted-weight yarn is easier for beginners. When combining colors, carry yarn only across short distances; for larger changes, fasten off and weave in the end. This avoids loose strands on the back of ornaments and decorations.
Beginner skills worth practicing
Many holiday patterns use the same core skills: a magic ring or starting chain, working in rounds, increasing to make circles, and adding a simple border. In a magic ring, the starting stitches are worked around an adjustable loop that closes tightly when you pull the yarn tail. If that feels difficult, make a small ring with two chains and work into the first chain instead. The center may have a small opening, but it is a friendly alternative while you learn.
For projects worked in joined rounds, a slip stitch closes the round and a starting chain may or may not count as a stitch. Read that note before beginning each round. For continuous spiral rounds, do not join; use a stitch marker in the first stitch and move it up after every round. In both cases, count the V-shaped loops along the top edge, not the loop on your hook.
Ornaments and decorations that look polished
Blocking turns a good flat motif into a crisp ornament. Lightly dampen a snowflake, star, or leaf, shape it on a towel, and let it dry completely. For a firmer snowflake, use a small amount of fabric stiffener after checking the product instructions. Add hanging loops securely by threading yarn through a strong stitch at the top rather than through a loose chain space.
When making a group of ornaments, measure one finished piece before making the rest. A consistent size creates a tidy look on the tree. Keep notes about hook size, yarn, and any number of rounds you used. This is helpful when you return to the project next December or want to make matching ornaments for friends and family.
Simple handmade gift ideas
Small Christmas crochet projects make thoughtful gifts because they can be personalized without becoming complicated. Choose a color that suits the recipient, add an initial or date on a gift tag, or pair a handmade ornament with a favorite treat. Mini stockings can hold a gift card. A set of coasters can be tied with ribbon. A small snowman or reindeer can become a package topper that the recipient keeps.
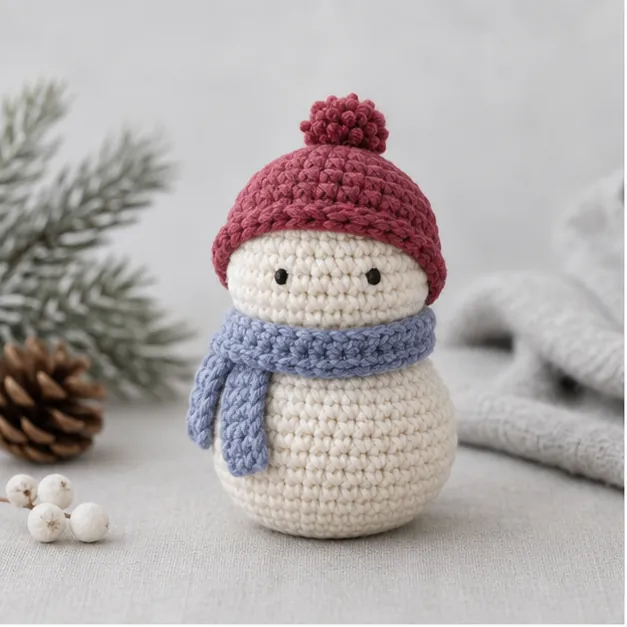
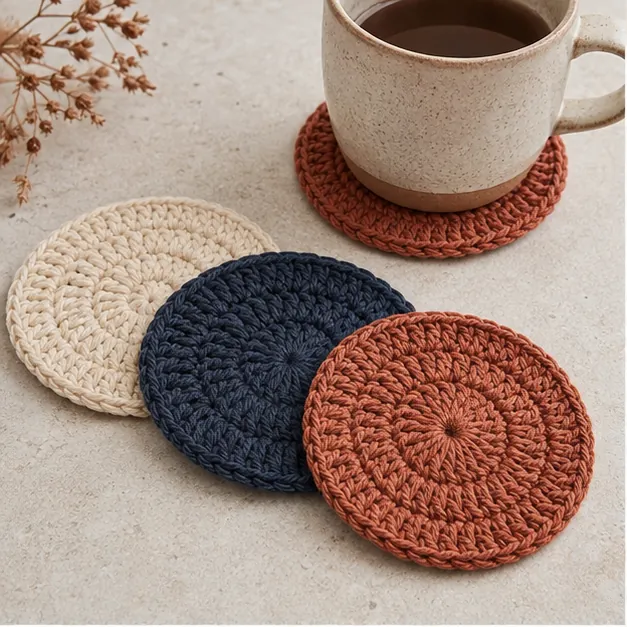
Make your deadline realistic. A small, carefully finished project is always more satisfying than a larger one rushed at the last minute. Work in short sessions, weave in ends as you go, and complete all finishing before wrapping. A simple care note is also helpful, especially if the piece is made from wool or needs gentle washing.
Keep every project beginner friendly
Read the entire pattern before you start. Identify the abbreviations that will appear, and practice any new stitch on a small swatch. Standard U.S. terms use single crochet, half double crochet, and double crochet. A repeat marked by asterisks means you work the instructions between them as many times as stated. An increase puts two stitches in one stitch; a decrease joins stitches together to reduce the count.
After a shaping round, pause for a checkpoint. The fabric should lie flat if you are making a circle, and the stitch count should match the pattern. If something looks wrong, it is much easier to correct the last round than to discover the problem after several more rounds. This careful rhythm gives you a better finished piece and helps crochet feel relaxing rather than rushed.
Use this holiday hub as a starting point for ornaments, decor, and handmade gifts throughout the season. The Batch 1 projects are designed to build confidence gradually, so you can begin with a quick decoration and move toward a more detailed make when you are ready.
Customize Your Project
For another seasonal idea, explore about Crochet by Season.
Change colors, edging, or small details only after you have completed one version at the stated gauge. If you substitute yarn, make a new sample because a thicker fiber can change the finished dimensions, drape, and amount of yarn needed. For bags and items that carry weight, add a lining or reinforcement before regular use.
Troubleshooting
The shape or edge is uneven
Stop and recount the previous round or row. Most uneven edges come from a missed increase, an added turning-chain stitch, or inconsistent tension. Correct the last clearly wrong section rather than trying to hide it later.
The finished piece does not match the measurement
Compare your gauge sample with the stated check. A smaller hook makes a firmer, smaller fabric; a larger hook makes a looser, larger one. Keep the stitch counts unchanged unless the pattern specifically gives resizing instructions.
A seam or attachment feels loose
Use matching yarn and short back-and-forth stitches through the crochet fabric. Reinforce high-stress points with a second pass, then weave the tail in securely.
Quick Project Plan
| Step | Action |
|---|---|
| 1 | Prepare yarn, hook, tools, and a gauge sample. |
| 2 | Follow the directions, count regularly, and check measurements. |
| 3 | Finish, reinforce, weave in ends, and review the project. |
Check Before You Finish
Test any hanging loop, strap, seam, or closure with a gentle pull. Lay flat items on a table to confirm they do not curl; lightly stuff three-dimensional pieces to an even shape. Adjust length, placement, or reinforcement before trimming the final yarn tail.
More Crochet Projects and Guides
Explore the related seasonal collections on Crochet by Season for your next project.
Final Thoughts
A few careful counts and a clean finish will make this seasonal project last for years. Whether you keep the finished christmas crochet patterns for your own home or make it as a gift, take a moment to check the size, seams, and woven-in ends before calling it complete. For more Christmas Crochet inspiration and fresh project ideas, follow Crochet by Season on Pinterest and Facebook.